Long White Gypsy uses affiliate links and is a member of the Amazon Services LLC Associates Program. If you make a purchase using one of these links, I may receive a small commission at no extra cost to you. See my Privacy Policy for more information.
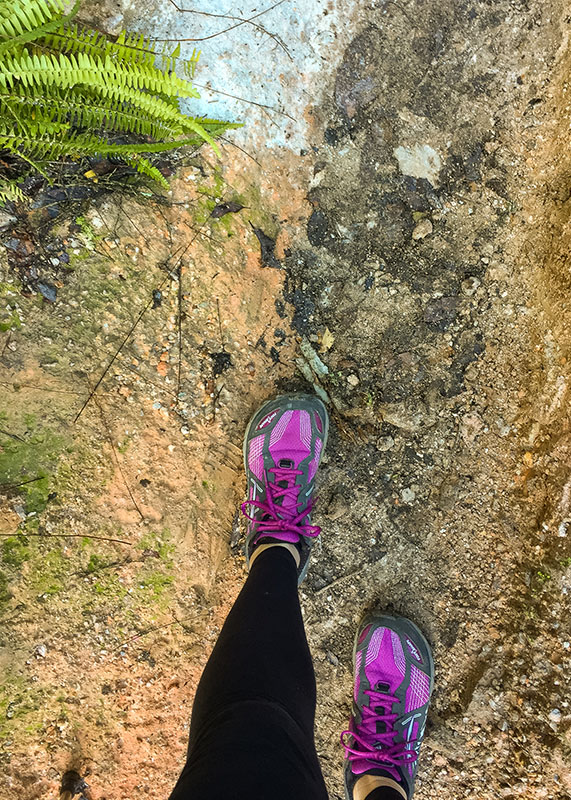
Contrary to popular belief, it’s not always necessary to use a sturdy pair of hiking boots (especially on beginner or intermediate tracks which are typically more easily graded and well maintained than other tramping tracks in New Zealand).
If you choose the right hiking footwear, you’ll be comfortable and confident over multiple days of hiking on rough or variable terrain. If you choose the wrong hiking footwear, you’ll be wishing for a helicopter evacuation mere hours into your adventure. This post will help you decide how to properly choose the right hiking footwear for your next hike.
Check out my videos on How to Choose the Right Footwear for Your Next Hike which covers everything you need to know when looking for your next pair of shoes or boots for the trail, and Looking After Your Feet When Hiking for some more helpful advice.
how Choose the Right hiking Footwear For You.
Have a good think about what you need.
Start with what kind of terrain you usually (or predominantly) hike in? Do you need a rigid and sturdy boot because you’re hiking through dangerous and rocky terrain? Or do you need something which dries out quickly because you’re always hiking through wet & muddy conditions?
How far do you hike on a regular basis? Do you only do 5 kilometre day hikes, or are you planning lots of multi day trips or even a thru-hike of a long distance trail? How long you spend in your footwear on a typical hike will determine what kind of shoe you should buy.
Lastly, think about the problems you’ve had with your previous shoes. Where have you felt discomfort, pressure points, or had issues before?
Give your shoe salesperson as much information as possible so that they can select the right footwear for you.
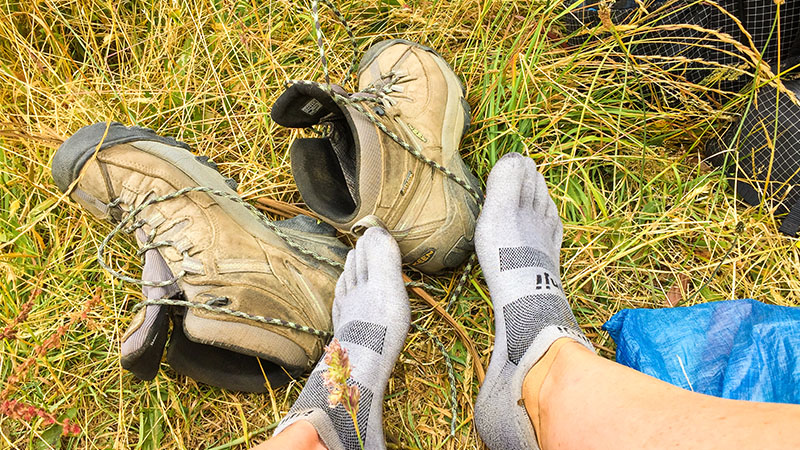
Don’t Underestimate the Power of A Good Pair of Socks.
Always take the right pair of socks with you whenever you’re going to buy new hiking footwear. Don’t rely on the socks they provide in store as these are likely to differ from your usual socks.
The sock plays a major part in how a shoe fits.
If you want to hike in a lightweight pair of thin cotton socks you’ll probably be more uncomfortable than if you hike in a sock with more padding which is made from a natural fibre (e.g. merino) which dries faster and draws sweat away from your skin.
Check out my Gear Lists for more information on what socks I opt for on my tramping trips.
Choose Something Which is Comfortable For You.
Trust that you’ll know the right footwear for you the instant you put it on.
If you’re trying hiking footwear on in store and you’re already having doubts about this part of the shoe that’s rubbing, or that part which is too tight… chances are you’ll have the same issues on trail and you’ll end up with problems.
To a large extent, a shoe or boot for hiking should feel natural as soon as you put it on. You shouldn’t be justifying severe discomfort just because you’ve been told the shoe is amazing.
Consider how soft and supple the material is as well as the activity you’ll be undertaking. I prefer hiking in footwear constructed of lighter weight and less sturdy material because it’s more flexible across the varieties of terrain I hike in.
Those who have ankle issues or who are less confident on their feet may prefer to opt for the slightly less comfortable rigidity of a full height leather boot, just make sure you take 4 to 6 weeks beforehand to break them in before using extensively.
Get The Right Fit.
Often, the biggest reason why footwear causes issues when hiking is because it’s the wrong size.
This could be because your foot is a strange shape, or the salesperson doesn’t have the right experience to properly fit you for a shoe or boot.
Here are some tips to help you get the right fit when you’re next buying hiking footwear.
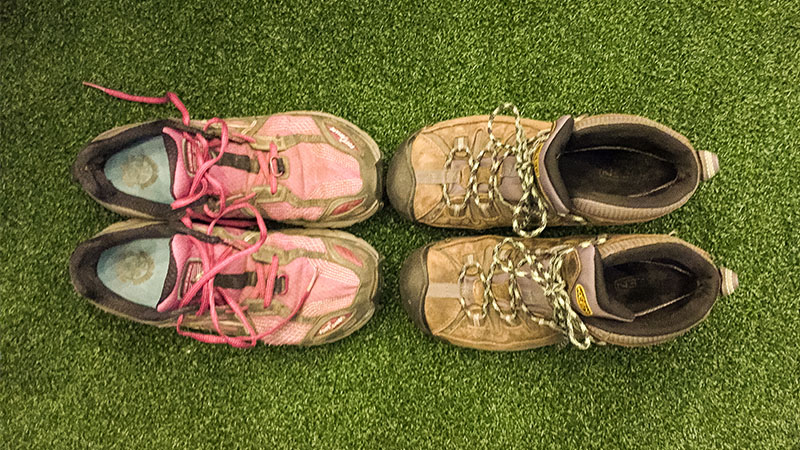
Size
Because of the variety of manufacturers and brands of footwear, sizing and style can vary widely. Don’t assume you’ll be the same size in hiking shoes as you are in normal shoes.
Often, you need more room in a hiking shoe or boot to allow for thicker socks and to reduce friction.
If your shoe retailer has a measuring device, start by having your foot properly measured to get a baseline to start from.
Once you know the size of your foot, begin by looking at hiking footwear which is at least half a size, but probably a full size bigger to allow the necessary space.
Length
Next, check that the shoe is long enough for your foot.
Here are some simple tests you can use to check your shoe is the proper length.
Insole Test
Take the insole out of the shoe you’re trying on. Lay it flat on the floor, then put your bare foot on top of it making sure your heel is right at the back of the insole.
Stand up normally and straight, then look down to check how much room you have in the toe area of the insole. You should have a complete finger width of space.
Heel Gap Test
Slide your foot into the shoe you’re trying on and push your foot all the way forward until it’s touching the front of the shoe. Don’t tie the laces.
Stand up straight, then bend down and put your fingers down in the gap behind your heel. You should have at least two finger-widths of space between your heel and the back of your boot.
Toe Tap Test
Put on the shoe and do it up snugly. I recommend using a special lace-locking technique to lock your heel in place and reduce slippage.
Stand up straight and then tap the toe of one shoe behind you on the ground whilst balancing on the other leg. You want to be firm, but not too hard. The idea is to mimic the motion of walking downhill.
If you can feel your toe hitting the top of your shoe or boot, your shoe is likely too small.
Width
Next check that the shoe is wide enough for your foot.
Many shoe manufacturers make footwear in both narrow and wide-fitting styles. It’s important to know whether you have a wide or a narrow foot (use this chart to find out) and have your salesperson recommend shoes accordingly.
Here are two things I specifically look for when selecting a shoe which is the correct width.
Midfoot
Because I have a narrow foot, I always look for shoes that fit snugly through the midfoot. However, even if you have a wide foot, it can be helpful to look for a shoe that fits comfortably around the middle of your foot.
Not only does a snug midfoot usually also provide good arch support, but it also allows your foot to be locked in tight meaning less chance of friction buildup through slippage.
Toe Box
I’m now a huge convert to shoes which have wide toe boxes (this is the front portion of the shoe or boot forward of the mid sole where your toes are housed).
Think about it. How many blisters do you get from walking around barefoot?
I’m willing to bet zero. Why? Because your toes have room to move and breathe.
Shoes which have wide toe boxes allow your toes to move and breathe even whilst you’re putting your foot through the rigours of multiple hours of hiking. Ask your salesperson to specifically recommend shoes that have wider toe boxes (they may look a bit like clown shoes).
Use the Right Insoles.
The standard insoles which you’ll find in any new pair of shoes or boots are usually only the absolute minimum required to make the shoe functional.
They’re very thin and don’t provide much cushioning or extra support.
They’re made this way to appeal to the largest number of people possible. But everyone’s feet are unique and different people need support in different places.
This is why it’s always a good idea to invest in a pair of custom insoles to suit your hiking style.
Talk to your podiatrist or pharmacist to find out what kind of insole would be most beneficial for you. Many people will benefit from a bit more arch support and cushioning.
Other Factors to Consider.
Breathability
You don’t want excess moisture in your shoe because moisture leads to friction which can cause blisters. A breathable shoe can work very well with a good wicking sock to draw moisture away from your skin.
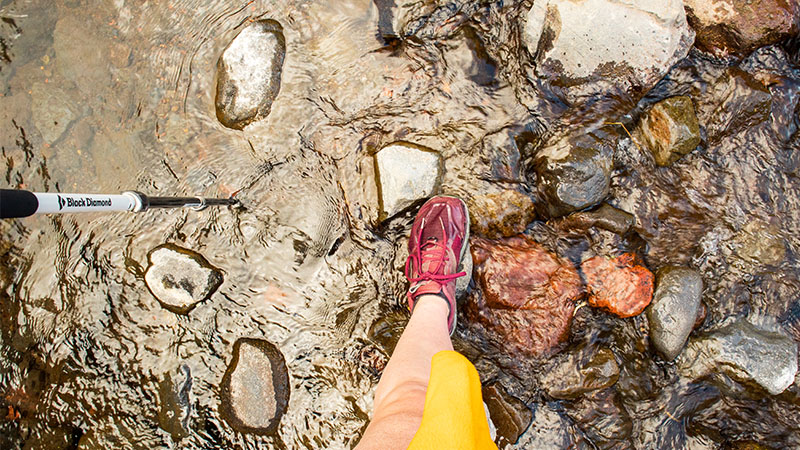
The more breathable a shoe or boot is, the quicker it will dry out. In New Zealand you’ll be hiking in wet and muddy conditions on a regular basis (find out more about what to expect on NZ trails here). There are river crossings on some routes, and deep sucking mud on others. Knowing that a shoe will be dry by the time you wake up in the morning is really important.
Bear in mind that many ‘waterproof’ shoes and boots are often marketed as being ‘breathable’ (especially if they’re made from multi-layer fabrics such as Gore Tex). However, it’s important to know that waterproof materials are designed to keep water out… which means that if water gets in, it’s likely to stay there. Waterproof synthetic footwear can take as long as a leather boot to dry out if it gets saturated (i.e. in a knee-deep river crossing).
Ankle Support
There’s a lot of debate in hiking communities about whether you need the ankle support provided by a boot.
My opinion is that this is a personal choice based on your body and the kind of hiking you do. If you spend a lot of time in rough and technical terrain, you have pre-existing ankle or knee issues or you’re less steady on your feet you may benefit from investing in a sturdy pair of boots.
If you hike fast and light or spend a lot of time hiking in the summer months on easy or well graded trails, then trail runners may be a better option for you.
Your experience level is also an important consideration. If you’re a confident hiker on a variety of different terrains, a trail runner may suffice. However if you lack experience you may need to fall back on the support and grip provided by a boot.
Weight Capacity
One thing many people don’t consider when deciding how to choose the right hiking footwear, is how much weight they usually carry in their pack.
You should be aware of the weight bearing capacity of the mid-sole in your shoe. Most sturdy boots are constructed with a strong shank through the mid sole which helps to bear the weight of a heavy pack. Trail runners, on the other hand, are more likely to compress under the weight of your pack over time, risking injury.
As a general rule of thumb, if you’re carrying more than 15kgs of gear on a regular basis, you’ll be much better off with a sturdy pair of boots to help bear the weight.
Grip
You can never have too much grip when you’re out on a trail.
Lugs are the raised and indented pattern on the bottom of your boot which provide the grip. Deeper lugs mean more grip.
If you frequently hike on scree or other loose surfaces, you’ll want a shoe with very deep lugs to give you some traction if you’re sliding downhill with weight on your back.
Trail runners are a compromise between boots and normal running shoes. However they still vary in lug depth across brands so make sure to check a number of styles to see which ones offer the best grip for you.
Final thoughts: How to choose the right hiking footwear.
I hope you’ve found this post on how to choose the right hiking footwear helpful. If you have any more suggestions for how to choose the right hiking footwear for your next hike, or a specific question you’d like to ask about footwear, please get in touch!
If you enjoyed this post, please take a moment to help me spread the word to other trampers and hikers by sharing it on Pinterest or social media.