Long White Gypsy uses affiliate links and is a member of the Amazon Services LLC Associates Program. If you make a purchase using one of these links, I may receive a small commission at no extra cost to you. See my Privacy Policy for more information.
If you’re going to be heading out on an overnight or multi-day tramping trip, you’ll need to figure out what to eat along the way. But if you’re on a special diet, you might find there’s a lack of choice.
Whilst many kiwi trampers tend to fall back on reliable brands of commercially dehydrated and packaged backpacking food such as Backcountry Cuisine and Outdoor Gourmet (available in most outdoor retailers) those who need gluten free backpacking food for their next trip often have much less choice.
Although the choice is getting better as time goes on, this is why I now prefer to prepare and dehydrate my own gluten free backpacking meals for my tramping trips. This gives me a bit more variety with interesting meals that I already know and love.
Here are some of my favourite gluten free backpacking food recipes and how to make them at home for yourself!
Find Your Recipe.
Click a button or continue scrolling to find your recipe.
Breakfast.
I’m not really a breakfast person.
This was something I struggled with on Te Araroa. Two or three days in, I was force feeding myself my gluten free porridge oats, wishing I’d put more thought into what I might want to eat every day on a 4-5 month adventure.
I hated porridge in real life. Of course I was going to hate it on the trail!
When I returned to Te Araroa the following season, I put my leftover gluten free oats to much better use in the following homemade toasted muesli recipe.
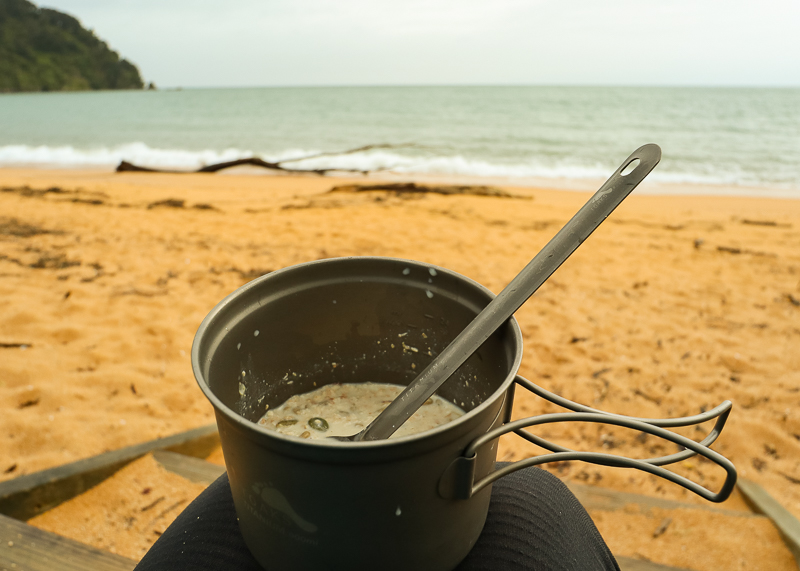
Gluten Free Maple Toasted Muesli
Makes 5 servings.
Ingredients
- 1 batch Torey Avey’s Maple Toasted Muesli using gluten free oats – The recipe says 8 but it actually makes 5 trail servings
- Add 1 tbsp dried yoghurt powder – I look for one with extra fat or protein
On Trail instructions:
- Add 1 cup water and stir until yoghurt powder is combined.
Another really hearty breakfast I’ve enjoyed on long adventures (especially ones in the cooler months) is this cooked breakfast-style alternate.
The great thing is that you can add whatever you like to this base gluten free backpacking recipe to spice things up a little. Perhaps some salami or pre-cooked sausage, a little bit of bacon or jerky, or spicy seasoning.
Brekkie Scramble
Makes 1 serve.
Ingredients
- 80 – 100g instant mashed potatoes – I use Cinderella Potato Flakes
- 30g Backcountry Cuisine Easy Cook Scrambled Eggs – I found mine at my local Hunting & Fishing store.
- Handful grated cheese – buy in towns along the way.
On Trail instructions:
- Boil 1.5 cups water. When boiled, pour a little over scrambled egg mix and let sit for 5 mins.
- After 5 minutes, pour the rest of the water over the instant mashed potato and stir to combine.
- Stir through the scrambled egg mix and top with a good handful of grated cheese.
Lunch.
I’ve found that gluten free backpacking recipes for lunch are few and far between. So I’ve had to look to traditional fuel sources for backpacking lunch recipes and make some adaptations.
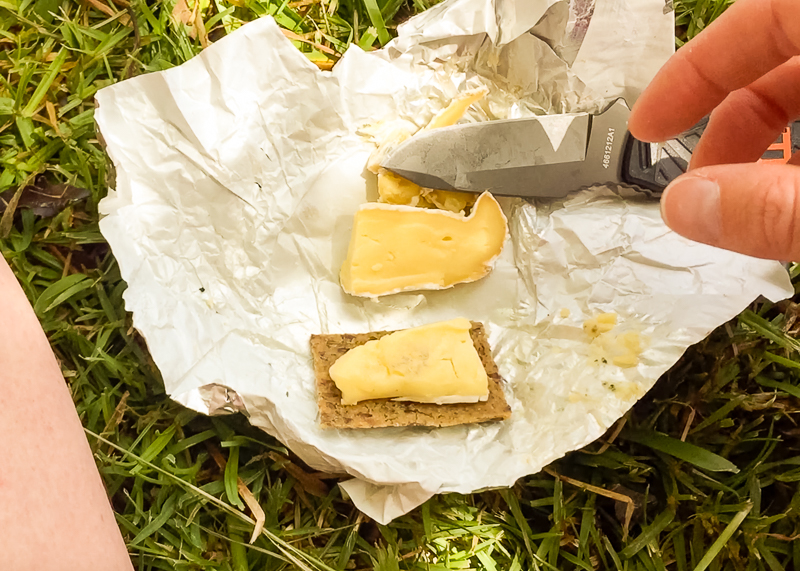
Gluten Free Cheese & Crackers
Most kiwi trampers will opt for simple fare for lunch, such as cheese and crackers, or wraps with a protein source like peanut butter or tuna.
In my experience, cheese (especially hard varieties) travels very well (if a little slimy) over 3 to 5 days despite not being refrigerated. To prolong its life, keep cheese in the middle of your pack so it’s out of the direct hot summer sun.
Finding a decent (and filling) gluten free cracker that doesn’t end up a shapeless powder after a couple of days of tramping, or a wrap that doesn’t crack just by looking at it, is very challenging.
Although I tried to carry rice crackers, after a few weeks on trail they became too much hassle. I would have to eat at least two rows of rice crackers to fill me up, meaning I had to carry 2 packets minimum to last a typical 3-4 day stretch.
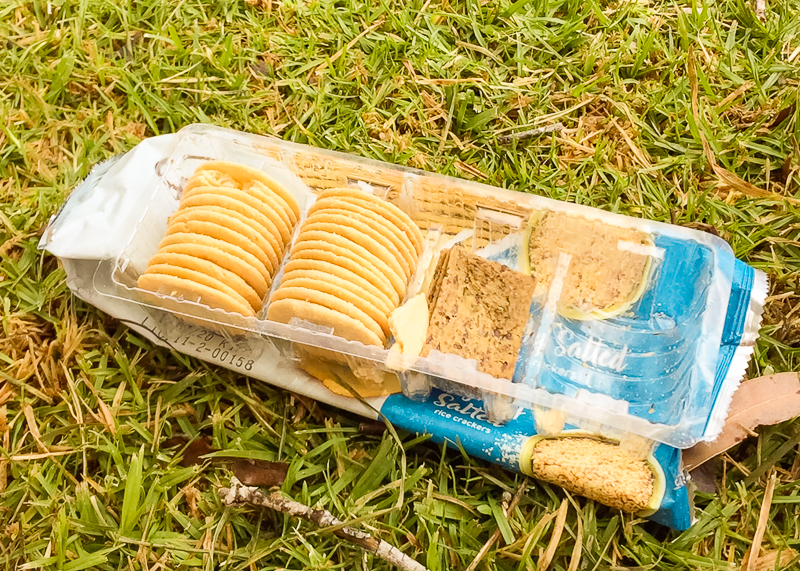
Gluten free rice crackers don’t keep their shape when scrunched up in a pack for 3 days – you’ll end up with lots of crumbs.
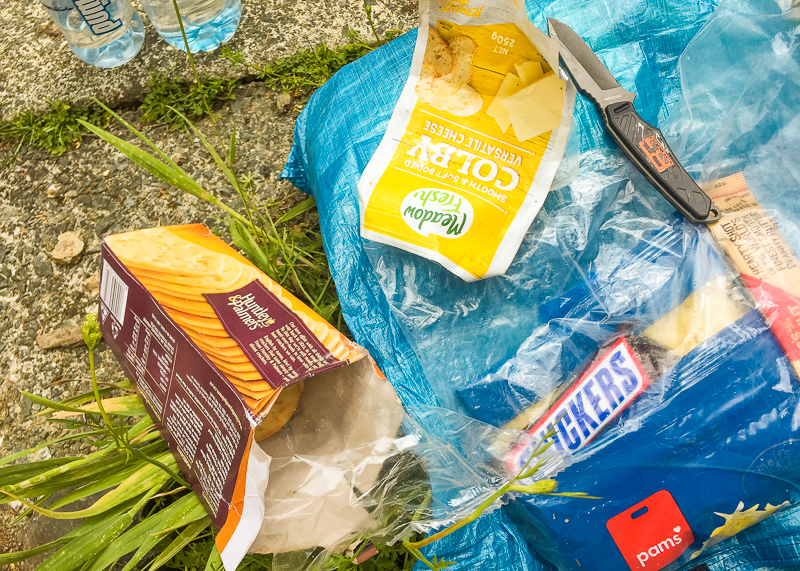
The hardier varieties of gluten free crackers (such as the seeded ones pictured below) keep their shape for much longer and are slightly more filling (the seeds have extra protein), but I sometimes gave in to temptation and opted for a standard full-gluten cracker.
Gluten Free Wraps
When I was thru hiking Te Araroa, I struggled to find a good gluten free wrap that didn’t break as soon as you started rolling it.
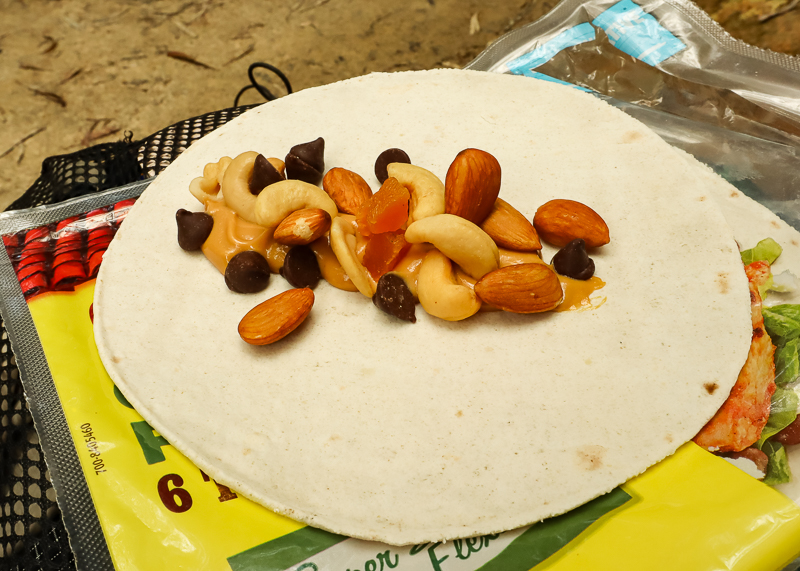
Eventually, I discovered that the Old El Paso gluten free tortillas (found in the mexican food aisle) work pretty well. Since then, a range of new & improved gluten free (and low carb) wraps have hit supermarket shelves. They’re not always available, but they freeze well, so make a note to pick them up whenever you see them.
There are plenty of things you can fill your wraps with, and the sky is really the limit. Here are some ideas:
- Cream Cheese (Philadelphia make a set of 4 mini-tubs which are great for hiking)
- Ham, Salami, Pastrami or other cured meats (pre-packaged & individually sealed)
- Chicken (pre-packaged and individually sealed, should be used on day 1 or 2 of a multi-day stretch)
- Rice
- Nuts and Seeds
- Dried Fruit
- Chocolate
- Peanut Butter
- Chips / Crisps
For something a little lighter to carry, more filling or longer lasting over longer distances, I cobbled together this Italian Minestrone Soup recipe.
Gluten Free Italian Minnestrone Soup
Makes 6 servings.
- 1kg your choice frozen vegetables.
- 3 medium brown onions.
- 4 tins chopped tomatoes (as thick as possible)
- 4 tins cannelini (or other) beans
- 2x 340g packets gluten free macaroni elbows
- 1tsp garlic powder
- 2tsp cornflour
- 1/2 to 1 cube gluten free stock (I use chicken, but you can use chicken or vegetable too)
Method
- Blanch vegetables in boiling water for 2-3 minutes. Spread onto dehydrator trays and dry overnight at 60-70C for 10-12 hours (depending on size of vegetables).
- Finely slice onions and spread onto dehydrator trays. Dry overnight at 60C for 8-10 hours (or until dry).
- Spread tomatoes onto dehydrator trays and dry overnight at 70C for 10-12 hours (or until dry).
- Drain and rinse cannelini beans and spread onto dehydrator trays. Dry overnight at 60C for 10-12 hours (or until dry).
- Cook gluten free macaroni elbows per packet instructions. Allow to cool then spread onto dehydrator trays and dry at 60C overnight for 8-10 hours (or until dry).
- Divide each batch of dried ingredients into 6 portions and assemble into individual packages with garlic, cornflour and stock.
On Trail instructions:
- At breakfast, add 1.5 cups cold water to bag and let soak throughout the morning.
- At lunch, pour mixture into cooking pot and simmer over a low heat for 10 minutes before serving.
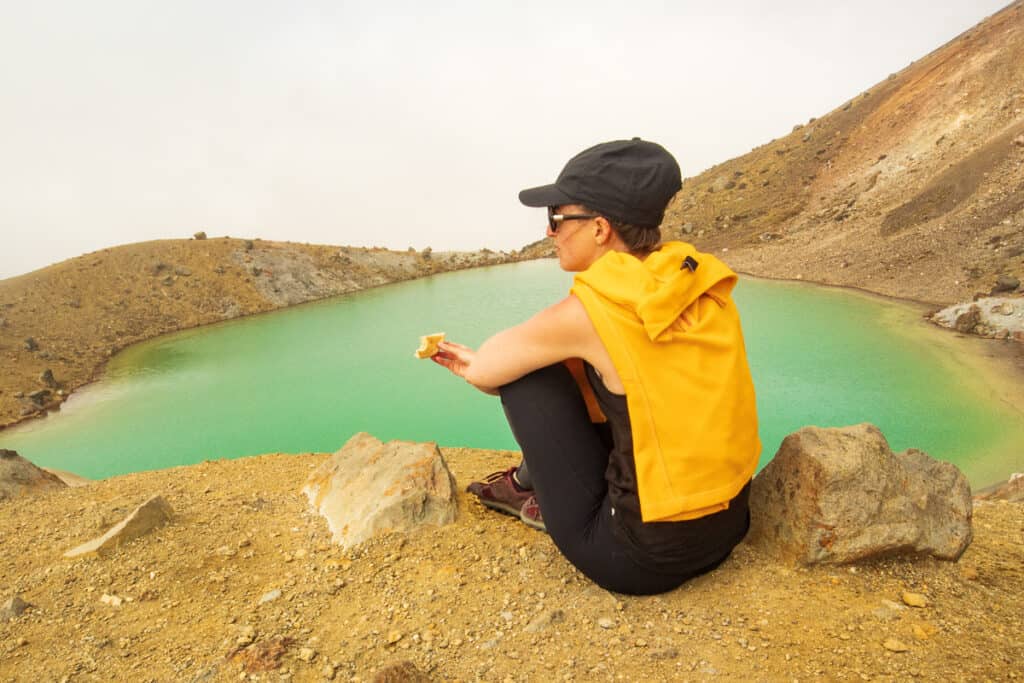
MORE LUNCH INSPIRATION?
Check out this in-depth post with all my easy hiking lunch ideas for your next hike!
Dinner.
On a long hiking trip, dinner is the most important meal of the day. Not only does it replace the energy you’ve already expended and fuel you up for the following day, but it’s also a nice comfort, especially if enjoyed in front of a roaring fire with your feet up.
It’s important to not only have variety, but something which will leave you feeling full.
My personal preference is for something warm, although many prefer a cold dinner for its quickness and convenience (more common in the summer months where they maybe can’t face a hot meal).
With these pre-prepared and pre-dehydrated gluten free backpacking recipes, you can have quickness and convenience, whilst still enjoying the comfort of a hearty warm meal.
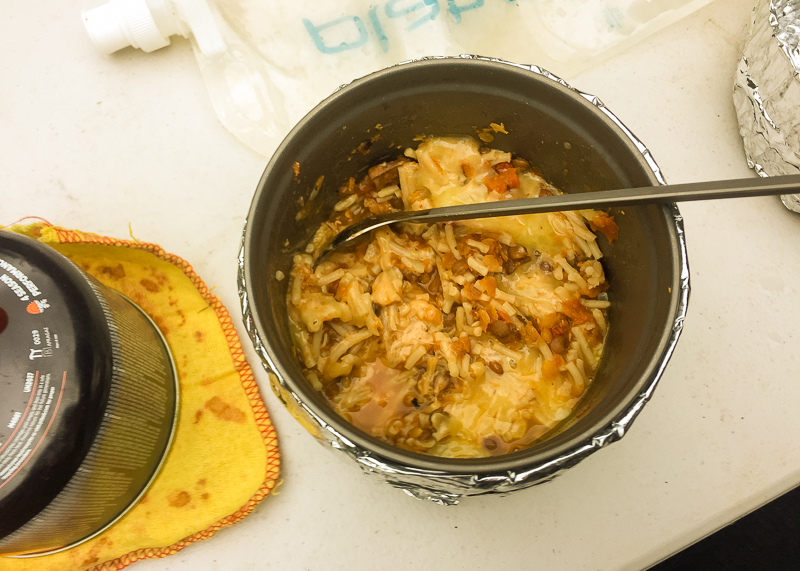
Gluten free backpacking meals are rehydrated with boiling water at camp, and served with lashings of grated cheese and/or fresh vegetables (if available).
Gluten Free Spaghetti Bolognese
Makes 4 servings.
Ingredients
- 1 box gluten free spaghetti (4-5 serves per pack)
- 1kg lean beef mince (get the lowest fat mince possible) *substitute beef for lentils for a vegetarian option
- 2 medium red onions
- 4 cloves garlic
- 2 tins diced tomatoes
- 4 tbsp tomato paste
- good handful basil
- good handful oregano
- 1/2 – 1 can water
Method (Non-Veg Option)
- Fry off mince in a dry frypan (no oil). When cooked, drain thoroughly and rinse with boiling water until rubbery (all the fat will be gone).
- Finely dice and chop the onions and garlic, and sautee with a little oil or butter until clear in a clean pan.
- Add back the rinsed mince, together with tomatoes, tomato paste, herbs and 1/2 can of water (add more if the mixture is still thick).
- Simmer and reduce down over a low heat for 60-90mins until thick, stirring occasionally.
- Once thick, let the mixture cool then spread onto dehydrator trays (no more than 1cm thick).
- Cook spaghetti per packet directions. Once cooked, rinse the spaghetti and while still hot spread onto dehydrator trays.
- Dehydrate mixture at 70C for around 12 hours, or until completely dry.
- Dehydrate spaghetti at 60C for 8-10 hours, or until dry.
- When dried, divide each batch of dry ingredients into 4 servings, and assemble into individual packets. Vacuum seal and/or freeze immediately and store in a cool dry place.
Method (Vegetarian Option)
- Finely dice and chop the onions and garlic, and sautee with a little oil or butter until clear in a clean pan.
- Add tomatoes, tomato paste, herbs, lentils and 1/2 can of water to the pot (add more water if the mixture is still thick).
- Continue with steps 4 to 9 above.
On Trail instructions:
- Boil 1.5 cups of water on your stove.
- Once boiled, pour in dried mixture and let sit (in a pot cozy if you have one) for 10-15 minutes to rehydrate (if mixture is still watery, simmer over a low heat for 5-10 minutes).
- Top with grated cheese and serve.
Gluten Free Chilli Con Carne
Makes 4 servings.
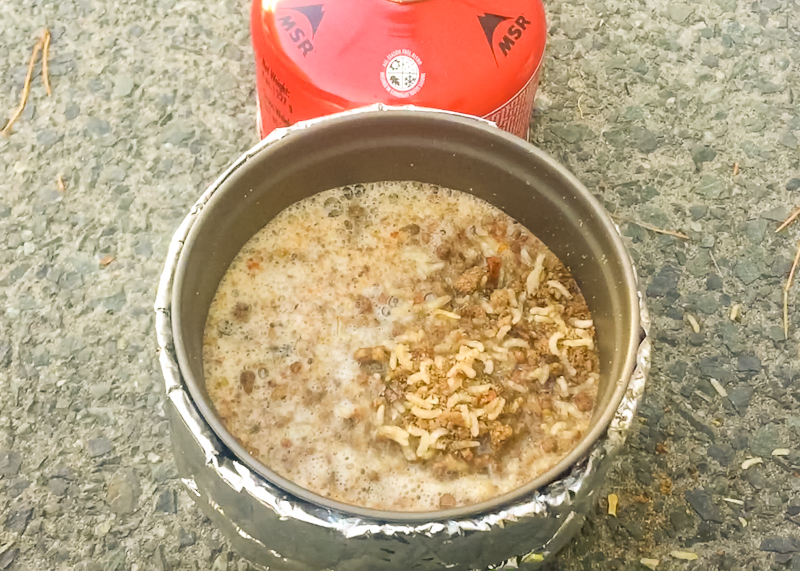
Ingredients
- 2 cups long grain rice
- 1kg lean beef mince (get the lowest fat possible)
- 2 medium red onions
- 2 tins diced tomatoes
- 2 red peppers
- 2 cans kidney beans
- 1-2 tsp chilli powder
- 2 tsp paprika
- 2 tsp cumin
- 1/2 – 1 can water
Method
- Fry off mince in a dry frypan (no oil). When cooked, drain thoroughly and rinse with boiling water until rubbery (all the fat will be gone).
- Finely dice and chop the onions and sautee with a little oil or butter until clear in a clean pan.
- Add back the rinsed mince, together with tomatoes, cubed peppers, spices and 1/2 can of water (add more if the mixture is still thick)
- Simmer and reduce down over a low heat for 60-90mins until thick, stirring occasionally.
- Once thick, let the mixture cool then spread onto dehydrator trays (no more than 1cm thick).
- Cook rice per packet directions. Once cooked, rinse the rice and let cool before spreading onto dehydrator trays.
- Dehydrate mince mixture at 70C for around 12 hours, or until completely dry.
- Dehydrate rice at 60C for 8-10 hours, or until dry.
- When dried, divide each batch of dry ingredients into 4 servings, and assemble into individual packets. Vacuum seal and/or freeze immediately and store in a cool dry place.
On Trail instructions:
- Boil 1.5 cups of water on your stove.
- Once boiled, pour in dried mixture and let sit (in a pot cozy if you have one) for 10-15 minutes to rehydrate (if mixture is still watery, simmer over a low heat for 5-10 minutes).
- Top with grated cheese and serve.
Gluten Free Vegetarian Shepherd’s Pie
Makes 4 servings.
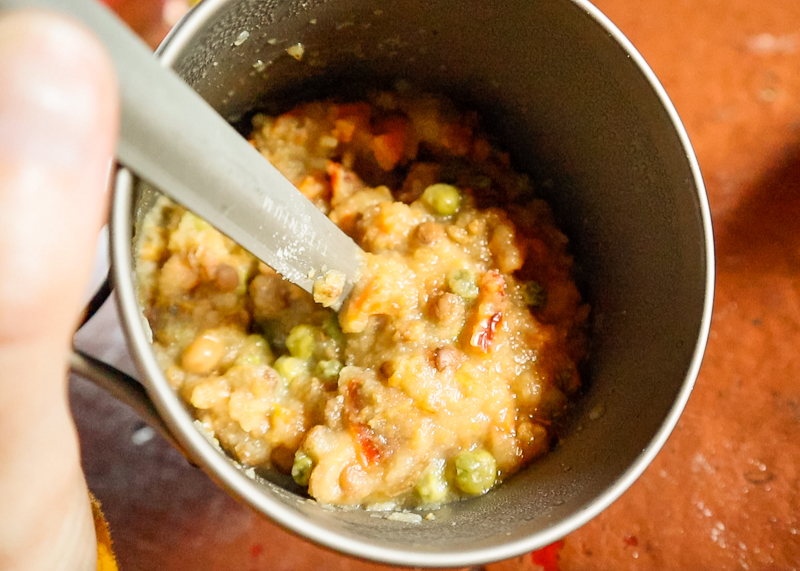
Ingredients
- 2 cans cannelini and/or kidney beans
- 2 large onion
- 2 tbsp butter
- 1 red or green capsicum
- 1 cube gluten free vegetable stock
- 2 cups dried lentils
- 3 tbsp cornflour
- 1 tsp basil
- 1 tsp oregano
- 1 tsp paprika
- 1 tbsp parsley
- 1 tsp soy sauce
- 3 cups tomato juice (use remaining juice from cans mixed with water)
- 1 to 1 1/2 cup water
- 120g instant potato flakes
Method
- In a large saucepan or pan, cook the onions in butter until clear and medium brown.
- Stir in the capsicum then the cornflour over a medium heat for a minute or so, then add the stock, herbs, paprika and soy sauce.
- Stir in 1 to 1 1/2 cups water and tomato paste, and bring to the boil, stirring constantly.
- Add the drained and rinsed beans and adjust the seasoning to taste.
- Simmer on a medium low heat for approximately 60 minutes until thickened.
- Allow to cool, then spread onto dehydrator trays and dry overnight at 60C for 10-12 hours.
- When dried, divide the batch of dried shepherd’s pie into 4 portions, and assemble into packets. Vacuum seal and/or freeze immediately and store in a cool dry place.
- To prepare for the trail, add a separate packet of 30g instant potato flakes (*optional – you can also add 10 to 20g of dried peas and/or carrots).
On Trail instructions:
- Boil 1.5 cup water on stove and pour 1 cup over vegetarian shepherd’s pie mix.
- Let sit for 10-15 minutes until rehydrated. If mixture is still runny, simmer for 5-10 minutes on stove.
- Lastly, add half a cup of water to the instant mashed potato to make up. Spread over shepherd’s pie mix and top with cheese.
Gluten Free Trail Beeferoni Cheese
Makes 4 servings.
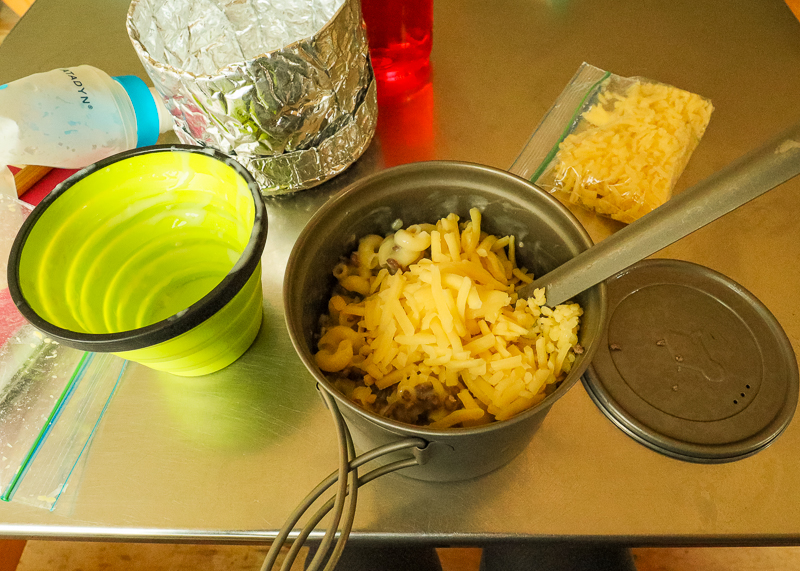
Ingredients
- 2x 340g packets gluten free macaroni elbows
- 1kg lean beef mince (get the lowest fat possible)
- 8 packets Continental cheese sauce (I buy just the plain cheese sauce as the four cheese sauce contains gluten)
Method
- Cook gluten free macaroni elbows per packet instructions. Allow to cool then spread onto dehydrator trays and dry at 60C overnight for 8-10 hours (or until dry).
- Fry off mince in a dry frypan (no oil) with a good pinch of salt and pepper. When cooked, drain thoroughly and rinse with boiling water until rubbery (all the fat will be gone).
- Allow mince to cool then spread onto dehydrator trays and dry at 70C overnight for approximately 12 hours.
- When dried, divide each batch of dry ingredients into 8 servings, and assemble into individual packets. Vacuum seal and/or freeze immediately and store in a cool dry place with 1 packet of cheese sauce to each serving.
On Trail instructions:
- Boil 2 cups water on stove and pour 1 cup over macaroni and beef mix. Let sit for 10-15 minutes until rehydrated.
- Add remaining cup of water to the cheese sauce mix to make up. Pour over the macaroni and beef mixture to coat, and top with cheese.
Conclusion: Gluten Free Backpacking Food.
These gluten free backpacking recipes should help you get started along the right track with some great gut-friendly options for your next adventure.
If you’d like any more information about quantities, preparation or options please feel free to get in touch!
If you found this post about gluten free backpacking recipes helpful, please take a moment to help me spread the word to other trampers and hikers by sharing it on Pinterest (or on your social media).

