Long White Gypsy uses affiliate links and is a member of the Amazon Services LLC Associates Program. If you make a purchase using one of these links, I may receive a small commission at no extra cost to you. See my Privacy Policy for more information.
Before you head out on your next (or first) New Zealand Great Walk, it’s really important to consider how to prepare for a Great Walk to ensure you’re fit and healthy enough to finish it safely and comfortably.
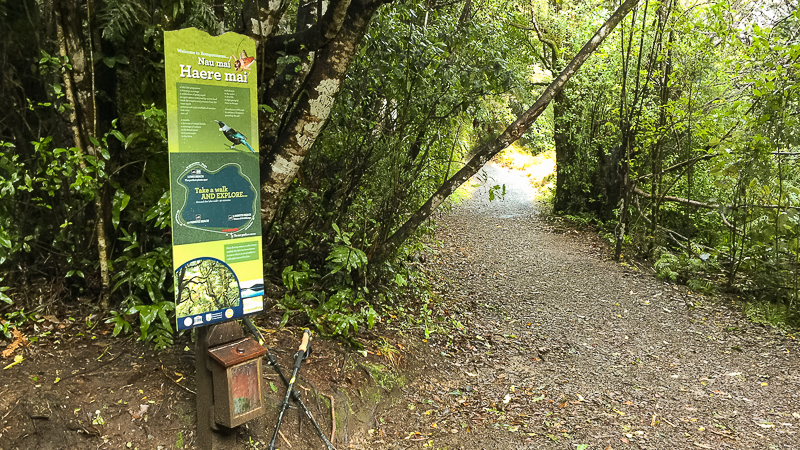
Although the Great Walks are designed to get even those with minimal tramping experience out into the wild, they’re still no walk in the park.
Beginners should start on Great Walks which are less technical until they’ve got more experience. And those with less fitness should train well to build strength and stamina before they leave for their trip.
Here are 5 helpful training tips to show you how to prepare for a Great Walk before embarking on your next adventure, to ensure you’re safe on trail and you get the most out of your experience.
1 — Work on Your Fitness
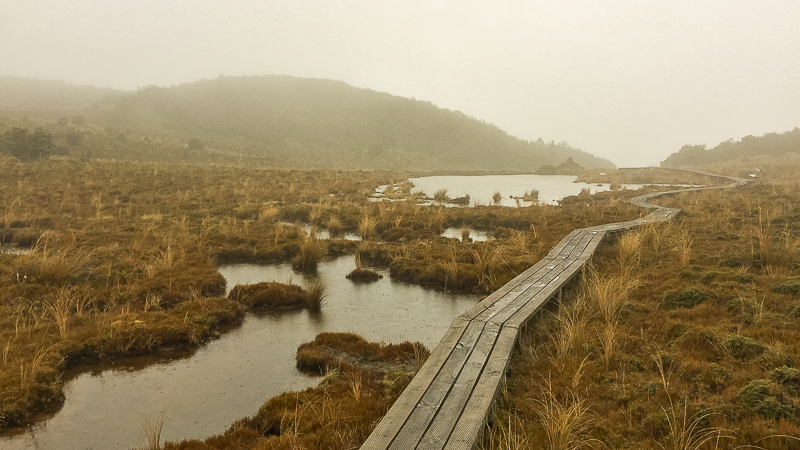
Let’s be honest here – New Zealand’s tracks and trails are hard! The rugged nature of NZ’s natural topography makes our trails some of the most beautiful but some of the most challenging in the world.
Your overall experience on a Great Walk (or any hiking trail in New Zealand) will be greatly improved if you’re feeling fit and healthy, rather than struggling all the time.
Here are some things you can do in the weeks and months before your trip to get fighting fit for the trail.
Start Increasing Your Time/Distance
Gradually build up the time and distance you can walk for each time you go out. Although you can do this on paths and in parks close to your home, it’s more beneficial if you can start throwing in some actual trail walks to get used to usual trail conditions and the wider environment.
Start with 1-2 hour walks up to about 10 kilometres and gradually build up to 4-6 hour day hikes up to about double that distance. Start off with just a day pack until you’ve built enough fitness to start carrying your overnight pack.
Slowly Add Hills & Weight
As your body gets comfortable with longer distances, start to build up strength and muscle by gradually adding hills to your route. Find local trails that are a bit rougher and hillier than what you’re used to, but don’t go too hard too soon – keep them short to start with then build up the distance.
Once you’re comfortable, start experimenting with carrying a heavier load. Add small amounts (up to a kilo) at a time. Water is a great way to quickly and easily add extra kilos to a pack. Adding weight gradually will give you an idea of your maximum comfortable pack weight, and prompt you to think of whether you need to change any gear items.
Get Your Workout On
If you don’t have the time or the trails to train in an actual hiking environment you can head to the gym or do some weight training instead to build some muscle mass.
Squats, leg raises, lunges and other glute quad and hamstring exercises will help you build the muscles needed to carry extra weight up those hills. Generally toning and building some muscle in the rest of your body will improve your overall stamina. There’s no need to go Arnold Schwarzenegger – just an hour or two of weight lifting or HIIT a week can really make a difference.
2 — Try An Overnight Trip
Once you’ve built up a solid fitness base you can start to plan an easy overnight hike. Not only is this a form of physical preparation, but it’s a good mental exercise as well.
It’s one thing to go out tramping with a full pack for a whole day, but then return home, have a shower and rest up in your own bed. It’s completely another to get up the next day after a fitful night’s sleep in a bunk bed with no hot water to soothe your aching muscles!
A ‘practice’ trip is designed to find out where your weaknesses lie, how your body reacts to consecutive days of tramping so that you can tweak your training regimen to make the most of the time you have before your trip.
You’ll also get to know how your pack feels after a full day of tramping. Pay attention to where it’s rubbing, how it’s set up, how to get the weight distribution right, and exactly where to put your quick-access gear while you’re walking.
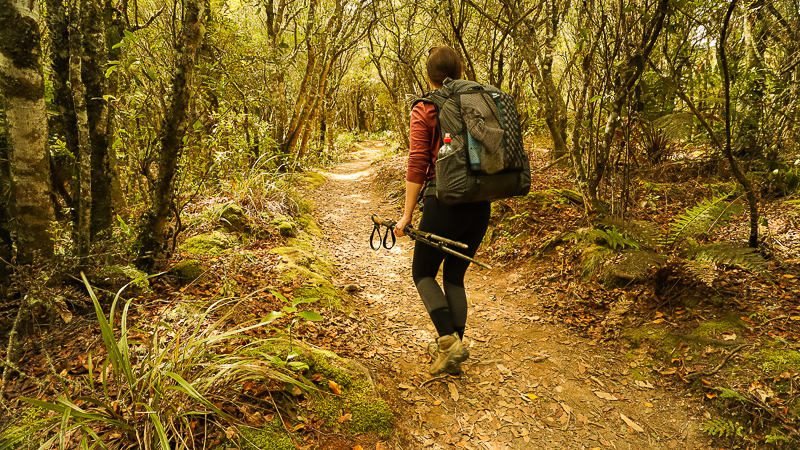
3 — Practice Carrying Your Full Overnight Pack
We’ve already talked about training with a full pack, but taking your overnight gear with you on all your training hikes also has another advantage – shakedown.
Shakedown is the art of whittling down all the unnecessary ‘luxury’ items in your pack to just the pure basics with the goal of saving weight and making your trip more comfortable. How far you take this is entirely up to you.
Many trampers pack a few luxury items to keep their head in the game or for a little taster of home. It could be something as simple as a comfortable pillow or a book, all the way up to a foldable chair.
But luxuries tend to add a lot of extra weight which can put more strain on your body and lead to injuries (especially on NZ’s rough trails). Which makes figuring out exactly which items you absolutely need and which ones you can do without an important exercise.
4 — Train in All Weather
Without meaning to burst your bubble, it’s extremely unlikely you’ll have 4 to 5 clear days of beautiful weather on your Great Walk.
In fact, on some of the Great Walks (e.g. the Milford Track) have high average annual rainfall hours mean that you’re more likely to be hiking in heavy rain than in clear weather.
So you need to understand how your daily tramping routine needs to change in bad weather. You also need to thoroughly test your wet weather gear. Hypothermia is a persistent threat in the NZ wilderness so you need to understand not only how and why your body might develop hypothermia (familiarise yourself with the symptoms) but also how to take measures to prevent it.
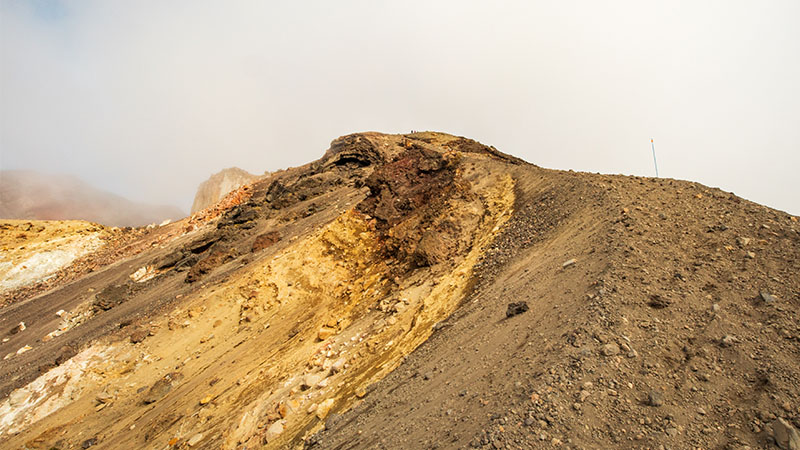
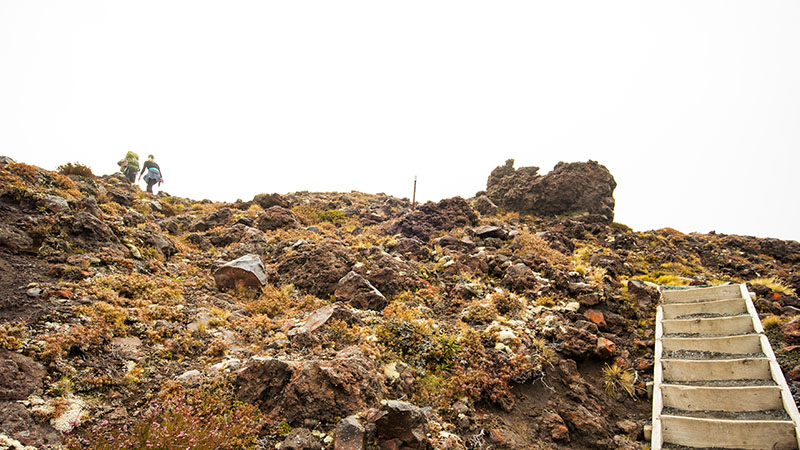
If you can safely do so, occasionally train on tracks that are exposed to the elements (like strong wind or lots of sunshine) so you can understand how your body reacts. Strong wind will sap your energy quickly or might blow you off-balance. A combination of strong wind and rain will cause dangerous wind-chill conditions.
Practice reading the weather conditions so you know exactly when to put on your waterproof / windproof layers before your core temperature begins to drop (usually before you go above the bush line).
Prolonged exposure to the sun can be just as dangerous. If you’re unable to get off track or seek shade for hours at a time, you need to know how often to apply sunscreen, how much water to drink (and how often) and whether to carry extra clothing, wider brimmed hats or maybe even an umbrella for additional protection.
For example, I didn’t know that I’m prone to severe heat rash when exposed for lengthy periods to the strong New Zealand sun. I now have to carry a few extra items with me to treat and deal with this phenomenon.
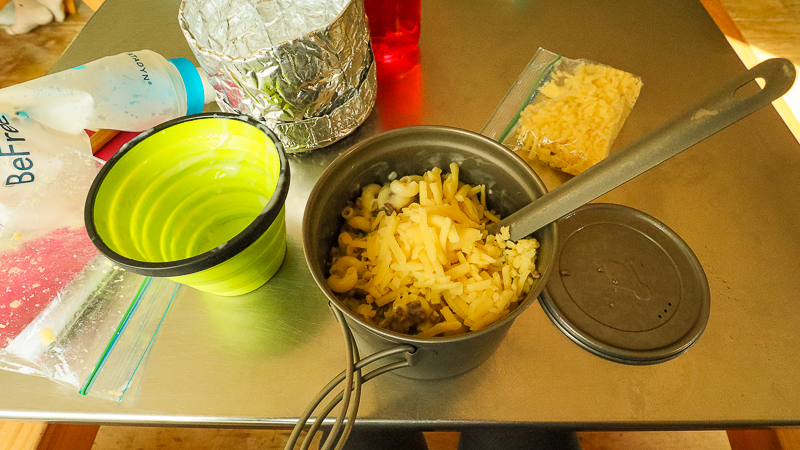
5 — Figure Out Your Menu
Beginners assume that they need lots of food and water when out on a multi-day tramping trip. Whereas it’s true that your body will burn more calories and require more hydration on a hiking trip than it would at home, it may not love you for consuming obscene quantities of low nutritional value food.
It’s common for trampers to experience bowel discomfort, and not just because they might be drinking dodgy water. Your body digests food differently when you’re moving to when you’re standing still. Also, the type of food you’re eating might be more basic, more calorie dense or more sugary than you’re used to. Fresh fruit and vegetables are simple too heavy to carry on a multi-day trip.
Don’t be surprised if you experience constipation (or the opposite!) as a result of dietary changes when on trail. Be sure to drink plenty of water to keep your system flushed, but most importantly be prepared.
Try the food you’re planning to take with you at home in a controlled environment first. Once you’re confident it doesn’t disagree with you, start incorporating it into your training hikes (especially meals you eat on the move such as hiking lunches and snacks). You’ll also start to gauge how hungry you’re likely to be as well as what you need to eat and when.
Final Thoughts: Great Walk Training Tips
Consistently following these training tips in the weeks and months prior to your next (or first) Great Walk will help you assess how to prepare and what to expect when you get out there. You’ll be safer and (most importantly) maximise your enjoyment of the trail.
If your body and mind is well prepared, you’ll be much better equipped to sit back, relax and enjoy the adventure!
If you found this post on how to prepare for a Great Walk helpful, please take a moment to help me spread the word to other trampers and hikers by sharing it on Pinterest or social media.