Long White Gypsy uses affiliate links and is a member of the Amazon Services LLC Associates Program. If you make a purchase using one of these links, I may receive a small commission at no extra cost to you. See my Privacy Policy for more information.
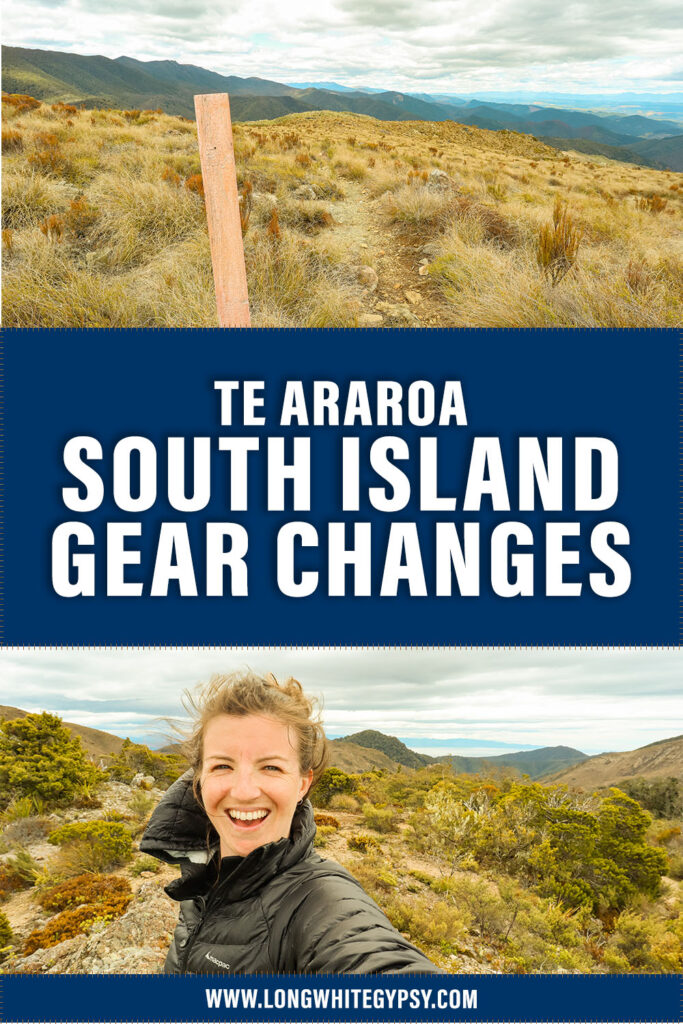
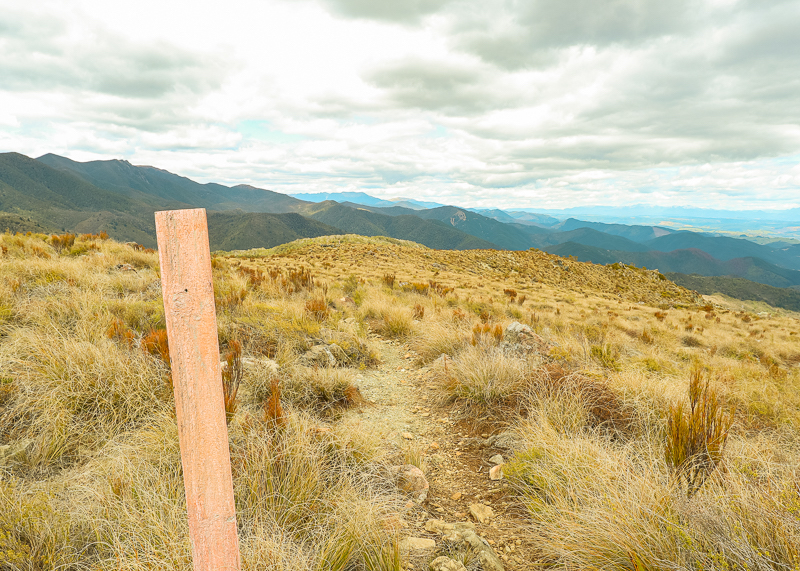
A thru hike of Te Araroa is a tale of two trails reflecting the difference between North and South. The South Island is more remote, rugged and susceptible to sudden changes in weather than the North Island.
If your plan is to be on any part of the South Island outside the peak summer (January to late February) you’ll probably need to make a few changes to your normal gear list for Te Araroa to accommodate the change in conditions.
Before we dive into the specifics of how to adapt your Te Araroa gear for the South Island, let’s first discuss why it’s so important to do so.
Why It’s Important To Adapt Your Gear for the South Island
Those hoping to thru hike Te Araroa (especially those heading in a southbound direction from Cape Reinga) should prepare to make some changes to their gear once they arrive on the South Island.
There are some key differences between the North and South islands which make this an important consideration.
On the North Island weather tends to be more settled and warmer. This means that you can get away with much more leeway in your clothing and gear setup. Lighter gear which is slightly less durable is easily managed on the North Island, and there are plenty of opportunities to replace broken, faulty or worn out gear.
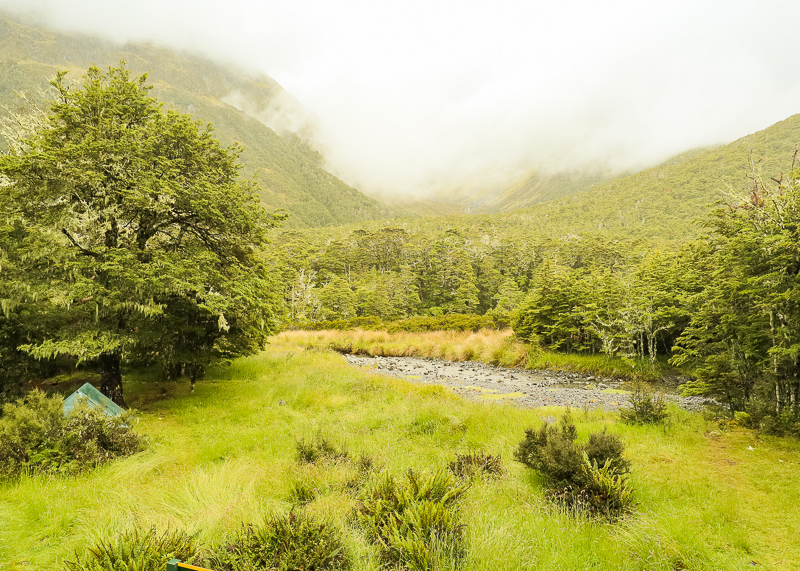
On the South Island the weather is more temperamental and changes frequently. The Te Araroa route passes through some of the South Island’s most remote and rugged terrains. It’s common to experience extreme rainfall, polar blasts and snow even in the middle of summer! The terrain is harsher, sharper, more technical and will rip your gear to shreds. With minimal opportunities to replace or repair your gear, you need to make sure it’s strong enough to stand up to the South Island conditions.
Now that we’ve covered the reasons why you need to adapt your Te Araroa gear for the South Island, let’s jump into my top tips for how to do it.
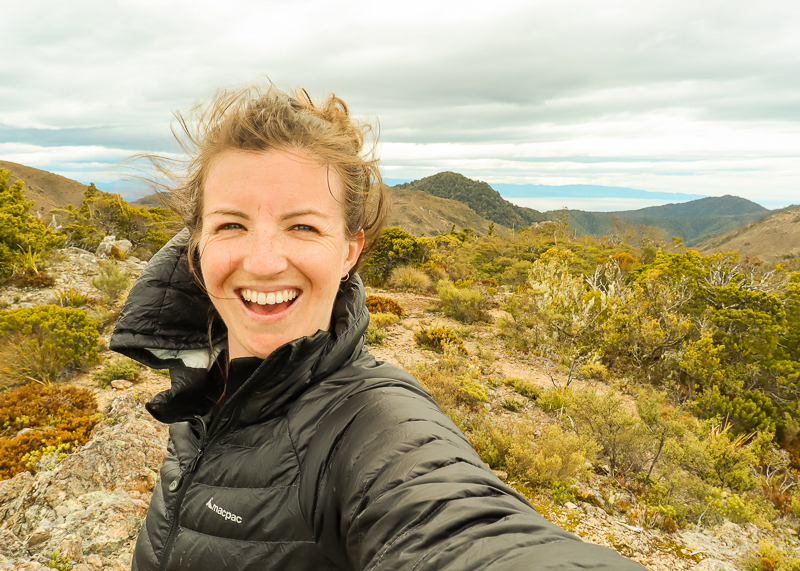
1 — Pack (More) Warm Clothes
The North Island practice of both hiking and sleeping in shorts and T-Shirt to save weight is gone. Also gone are the days of not needing a full set of base layers!
You need a full set of thermals (thermal top and long johns) before you head into the South Island high country (anything south of Pelorus Bridge) due to the changeable weather.
Layering is an important tool to mitigate these conditions and I don’t mean just throwing on a light windproof layer over your down jacket and hoping for the best. You need a proper waterproof jacket, an insulated layer that will keep you warm even when wet and moisture wicking base layers.
Op shops (charity stores) are great places to pick these items up for very little money, so keep your eyes open as you pass through Palmerston North and Wellington.
Suggested Clothing to Add (if not already carried)
- Long sleeved merino or polypropylene top
- Long merino or polypropylene leggings
- Fleece pullover or mid layer
- Good quality wind & waterproof outer layer
2 — Increase the Capacity of your Pack
If you’re a lightweight tramper that usually uses a small (less than 50L) pack, you may want to reconsider this practice for the South.
On the North Island, a smaller pack is feasible because you’re usually passing through towns every 2-3 days so you don’t have to carry excess food to reach your next resupply.
On the South Island on average there are 4-5 days (or sometimes more) between resupply points so you’ll need enough capacity in your pack to carry food for longer lengths of time.
(You’ll also need some more space for the rest of the gear changes we’re talking about in this post!)
When selecting your pack for the TA I recommend purchasing a 55-65L pack which either has an extra ‘brain’ or top compartment which adds extra capacity, or has a roll top closure (or other expandable system) allowing more volume. This will allow you to be more flexible once you get to the South Island.
Suggested Packs for Te Araroa
- Zpacks Arc Haul 62L
- Macpac Hesper 52L / Harper 50L
- Fiordland Packs 65L Pack
- Aarn Featherlite Freedom
- Hyperlite Mountain Gear 3400 Southwest
- ULA Circuit 68L
EDITOR’S NOTE: If you’re already a fit and well-conditioned ‘fast and light’ hiker capable of hiking 30-50km per day over rough, steep, unstable and often rocky terrain, you may be able to get by with a 40-50L pack, but make sure you’re carrying a Personal Locator Beacon just in case.
3 — Always Pack A Supply of Emergency Food
Ask any kiwi tramper – an important and non-negotiable item of kit for wilderness walks in New Zealand is a supply of emergency food rations.
Put simply, you just don’t know when your plans might have to change. Whereas an injury or unplanned route change can easily add days to your trip, more commonly it’s changes in weather which affect the planned duration of a trip.
The biggest threat in the backcountry is high rainfall which can cause flash flooding and make rivers impassable. Weather-related delays can last for as little as a few hours to many days, so you need to make sure you have plenty of food to wait it out.
Whereas on the North Island you might only need to carry emergency rations through some sections (e.g. Tongariro National Park, Tararua ranges), on the South Island almost the entire route is susceptible to bad weather from time to time. You should always have at least 2 days’ emergency rations on the South Island.
Get into the habit early on of checking the weather forecast in advance and plan accordingly. Don’t be afraid to postpone, skip ahead or turn back if the forecast isn’t favourable or the weather turns rough.
And take the advice of (experienced) kiwis and/or locals when it’s offered. They know the trails, weather patterns and conditions better than anyone.
4 — Forget About Your Resupply or Bounce Boxes
Most thru hikes take many months to complete so many thru hikers choose to use resupply and bounce boxes to send food or gear to themselves along the way.
But in fact this particular practice is more of a hindrance than a help.
For one thing, most TA thru hikers are internationals (who can’t really prepare and send themselves resupply boxes before they begin their hike anyway), postage costs are incredibly expensive and you’ll restrict where you need to go/stay on the way through (for more detail on the pros and cons of resupply on the TA read this post).
But there are three notable exceptions for certain sections of the South Island where you’ll need to send yourself a resupply box because there aren’t any other options:
- to St Arnaud at the end of the Richmond Ranges section; and
- to Boyle Village at the end of the Waiau Pass section; and
- to Arthur’s Pass between Boyle Village and Methven.
Be aware that South Island delivery times take longer because most of it is rural delivery and the main distribution centres are located far from the trail. Send your boxes well in advance to avoid your box arriving after you do and read my full Te Araroa resupply post for more info.

5 — Invest in a Pair of (Longer) Gaiters
Thru hikers normally wear some kind of ankle gaiters (especially the lightweight variety) on the North Island to help keep gravel and other irritants out of their shoes and boots.
But on the South Island (and among kiwi trampers in general) you’ll see more long gaiters or even hikers who have swapped out their shorts for trousers.
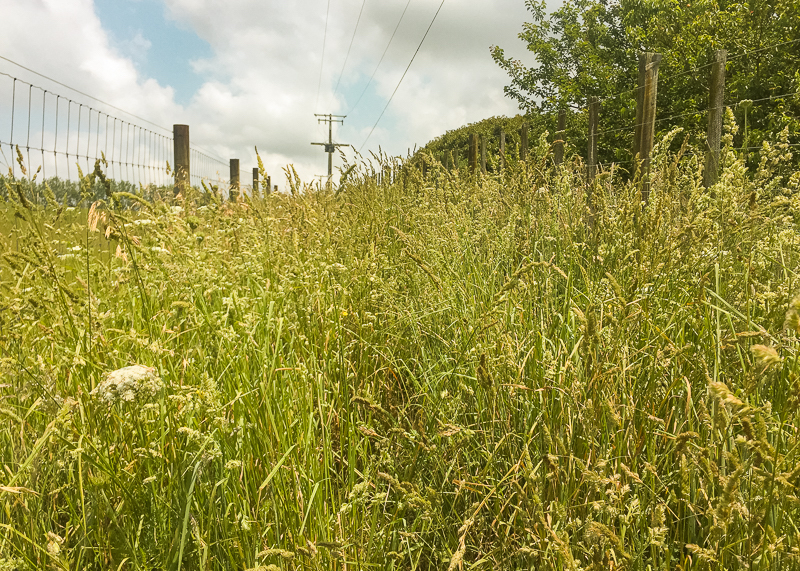
This is because even though the North Island section of trail can be pretty bad at times, there’s actually a higher concentration of prickly shrubs and overgrown trails in the South. Knee-high gaiters can prevent unnecessary scratches and make bushbashing much less painful.
The well-known South Island matagouri (speargrass) is one such shrub to look out for and has been the bane of kiwi trampers since humans first started tramping through the NZ wilderness. It’ll cut your legs to shreds in no time at all, and you’ll be cursing your decision to wear those short shorts in no time!
6 — Switch Up Your Rain (& Wind) Protection
Long gaiters also provide a form of rain protection for kiwi trampers who usually wear shorts instead of trousers.
Summer tramping conditions in New Zealand are usually too hot and humid (think tropical climates) to cover up with rain pants (which although waterproof are often not very breathable). Gaiters offer a great hybrid option to protect against wind chill & hypothermia.
Just bear in mind that if you’re going to be spending lengthy periods of time in exposed territory in rainy and windy weather (as you will on Te Araroa), your risk of hypothermia will increase if you have wet and bare skin. So you need to have a foolproof wet weather system to keep safe.
Kiwi trampers usually pair long gaiters with a thigh-length heavy duty (and ultra-waterproof) rain jacket, worn over heavy duty shorts and sometimes merino or polypropylene leggings.
The ideal Te Araroa rain jacket should have a minimum 15,000mm hydrostatic head (waterproofing) rating and ideally a 15,000 g/m2 breathability rating. It should be made from a heavy duty two or three layer fabric (as you’ll be bush bashing through prickly and spiky bushes a lot) and ideally cover your bum and upper thighs.
Don’t be tempted to go ultralight with your rain gear. A lightweight and cheap “water resistant” rain shell won’t keep you dry and warm in New Zealand’s torrential downpours. Expect your rain jacket to weigh 300 – 500g or more for NZ conditions.
Suggested Rain Gear for Te Araroa
- Macpac Traverse Rain Jacket (shorter) or Stratis Jacket (longer)
- Patagonia Torrentshell
- Macpac Resolution
- Earth Sea Sky Hydrophobia
- Stoney Creek Stow It Jacket
- Outdoor Research Crocodile Gaiters
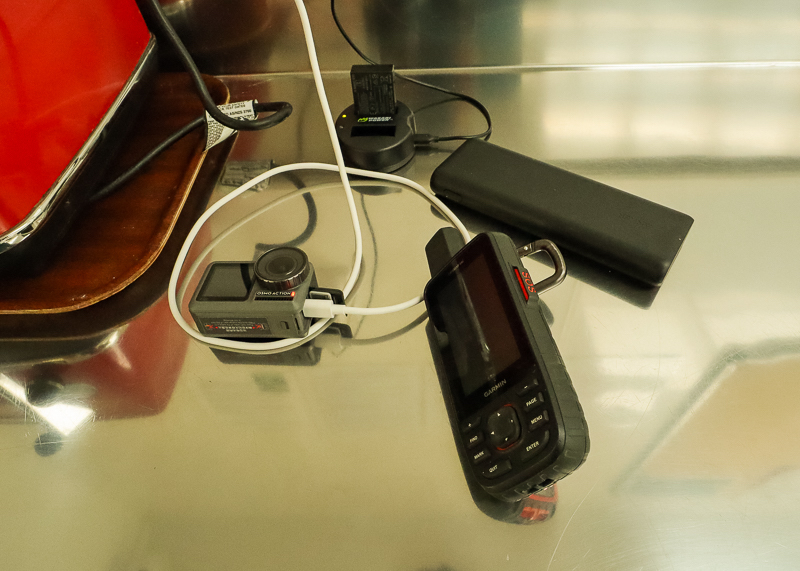
7 — Carry Extra Juice
You may also need to increase your battery capacity for your electronic devices before heading onto the South Island.
You can easily charge your electronics every 2 to 3 days on the North Island,.
But if you’re relying on a lot of electronic gear make sure that you have plenty of backup battery power in your pack for the South Island.
You may need a total of 20,000 maH or more for some of the longer 5 – 10 day South Island stretches especially if you’re using your phone as your main means of navigation and/or emergency communication.
And don’t forget that batteries deplete faster at higher elevations and in colder temperatures so you need to have enough contingency to cover this.
I carried an Anker 20,000 maH battery bank on my Te Araroa hike. This would have been sufficient for most of my needs, but in some sections an additional 10,000 maH would have been helpful also.
8 — DO NOT FORGET your PLB
I can’t stress this enough.
Don’t make the mistake of choosing not to take a PLB (Personal Locator Beacon) with you onto the South Island.
I’ll level with you. I’m a self-confessed safety freak. I’ve seen and read about enough avoidable incidents to continually recommend all hikers (even day hikers) carry PLBs with them on every trip.
I’ll concede and say that a PLB is not 100% necessary for most (although not all) of the North Island.
But the South Island is no joke.
Please do not think it won’t happen to you.
Mother Nature is unforgiving. She doesn’t care how young you are, how fast you are, how strong you are, how experienced you are.
Although carrying a personal locator beacon won’t help you if you take a life-ending fall off a cliff or down a steep scree slope, it may save your life if you take an unfortunate tumble and dislocate or break a bone, if you get swept down a river or if you lose the trail and can’t regain it.
A PLB gives you a guaranteed means of communicating with the outside world and an emergency signal if the worst happens. Satellite messenger devices or trackers are also good options, but may require paid subscriptions before you can trigger them.
9 — Swap Your Down Gear for Synthetic
Personally, I’m a big fan of down clothing. But it’s worth bearing in mind that there are some advantages to using synthetic gear on a Te Araroa thru hike.
Firstly, there’s more condensation in New Zealand. Even with a double walled tent, New Zealand’s coastal and tropical climate will bring plenty of condensation to the inside of your tent which can end up rubbing off onto your sleeping bag and making it damp (especially if you’re taller).
Second, the threat of rain at a moment’s notice and changeable temps mean down isn’t a great layering option. Despite the fact that down is often used as a layering piece on other worldwide long distance trails, kiwi trampers usually use fleece as a mid-layer. Temperatures vary so much during the day that it’s usually too hot or humid to use a down layer. Plus, one unexpected downpour and your down layer may get wet, reducing its insulating properties and rendering it useless later on when you actually need it.
Third, hiking packs are usually only water resistant at best. Throw in torrential downpours which can last for days and there’s always a constant risk of your gear becoming wet despite your best efforts. A good pack liner is essential, but if you’re opening your pack a lot during the day to swap out gear even a pack liner or cover won’t help.
Lastly, synthetic gear is much easier to wash than down which may be a determining factor if you’re a particularly dirty hiker!
Suggested Synthetic Sleeping Bags
- Enlightened Equipment Enigma Apex
- Sea to Summit Trailhead THIII
- As Tucas – Sestrals Apex 233
- Marmot Trestles 30 Sleeping Bag
- Patagonia Micro Puff Hoodie
- Enlightened Equipment Torrid Jacket
- Macpac Pulsar Jacket
10 — Opt for More Durable Footwear
Trail runners are the preferred footwear for most TA thru hikers. Their lightweight and quick drying nature is preferable for the wet and boggy trails that characterise much of the trail.
But on the South Island the rugged terrain often rips the soles of less durable trail runners to shreds meaning at the very least you’re probably going to go through a couple of pairs just on the South Island alone.
This makes boots a more viable (or even sensible) option, especially for those who want more ankle support and a thicker sole for the rocky, slippery & uneven South Island tracks.
To be clear, I’m not suggesting you shouldn’t use trail runners on the South Island but be prepared to replace them more often than on the North Island and plan accordingly (you’ll be stopping at less places with outdoor shops along the way).
If you’d prefer the benefits of a lightweight trail runner but like the stability of a boot, a walking shoe could be a good option. Walking shoes will last longer than trail runners and you may get through the South Island on a single pair. Some good options include the Keen Targhee 3 or Salewa Mountain Trainer 2 and read this post to help you decide which shoe choice is right for you.
Final Thoughts: Te Araroa Gear Changes for the South Island
The suggested Te Araroa gear changes =for the South Island in this post should serve you well as you transition from the tropical North Island to the rugged South Island on your Te Araroa thru hike.
If you still have questions about gear changes to make in preparation for the South Island, please feel free to contact me or leave a comment below. Otherwise check out all my Te Araroa resources here.
If you enjoyed this Te Araroa gear changes post, please take a moment to help me spread the word to other trampers and hikers by sharing it on Pinterest or social media.