
Long White Gypsy uses affiliate links and is a member of the Amazon Services LLC Associates Program. If you make a purchase using one of these links, I may receive a small commission at no extra cost to you. See my Privacy Policy for more information.
Are you looking for a truly unique and life-changing adventure? Then look no further than the Te Araroa Trail!
Stretching across New Zealand from Cape Reinga in the North to Bluff on the South Island, Te Araroa offers an epic journey through some of the world’s most sought-after landscapes.
I hiked the Te Araroa Trail in the 2019/20 season, and I’ve been writing and making informational content about it ever since, with the goal of helping aspiring hikers prepare for their adventure and make sure they have a safe and enjoyable experience.
One thing I learnt is if you’re considering a thru hike of the Te Araroa Trail, it’s really important to have all your ducks in a row before you set off.
So in this post we’ll cover everything you need to know before embarking on your Te Araroa trail thru hike: from visas and permits, to gear lists and things you need to know about hiking in NZ that you probably haven’t even considered yet.
So grab a cuppa, pull up a comfy chair, and let’s get into it!
Te Araroa Trail: Quick Facts.
Not sure if Te Araroa is right for you? Perhaps these Te Araroa Quick Facts will help you decide.
| Te Araroa Meaning: | Te Araroa literally translates to “The Long Pathway” in the native Maori language. It’s pronounced /teh-are-ah-row-ah/. |
| Length: | The Te Araroa trail is NZ’s only long-distance hiking trail, stretching approximately 3,000 kilometres (1,864 miles) from the top of the North Island to the bottom of the South Island. |
| Duration: | Completing the entire Te Araroa trail typically takes around 4 to 6 months, but this can vary depending on individual pace. |
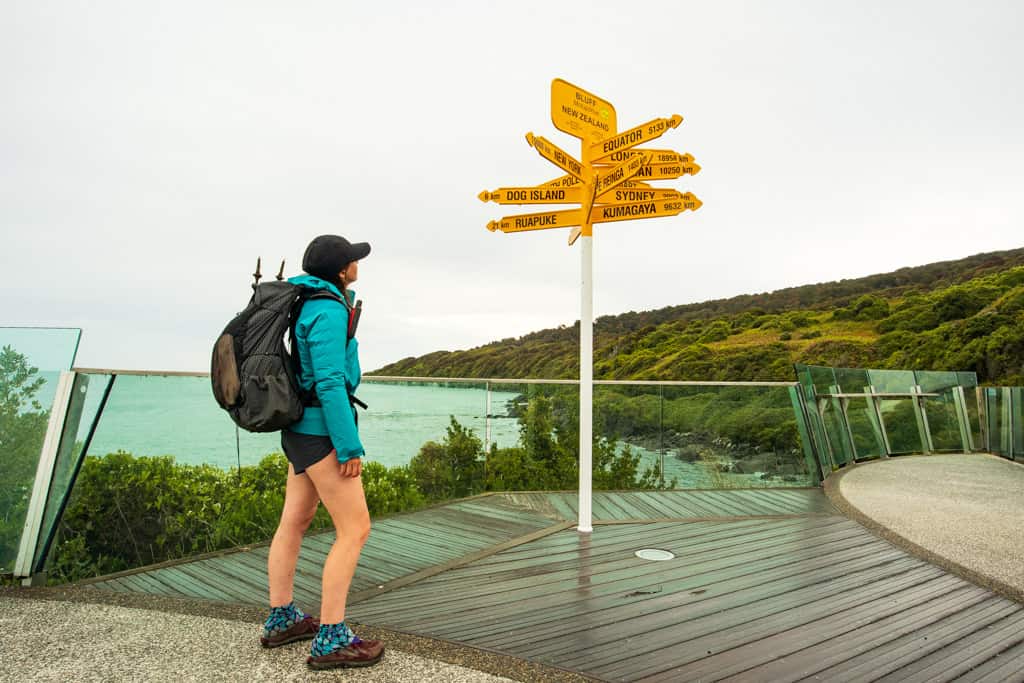
| Start and End Points: | The northern terminus is at Cape Reinga (North Island), where the Tasman Sea meets the Pacific Ocean. The southern terminus is at Stirling Point in Bluff (South Island). |
| Best Time to Hike: | Most SOBO thru hikers will begin their adventure between October and December, finishing some time between late Feb and early April. NOBO thru hikers will usually begin in December or January, and finish up around the end of April. |
| Difficulty: | Te Araroa is considered a hard thru hike both physically and mentally, with extreme changes in weather, exposed alpine terrain, dense jungle-like forests, swift river crossings, bushwhacking and long road walks. Still in its infancy, much of the trail is not yet well established and doesn’t have a large support community. |
| Terrain Diversity: | Rugged coastline and sandy beaches to majestic mountains, dense jungle forests, dramatic glacial valleys, peaceful river walks, active volcanic terrain and sweeping farmlands. |
| Māori Culture: | “Te Araroa” translates to “The Long Pathway” in the Māori language, reflecting the significance of the trail in connecting both people and landscapes. |
| Wildlife: | Luckily, there are no animals than can kill you in NZ (whew!). But there are definitely some that can make your life a nuisance. Possums, mice and rats will try to steal your food, kea and weka love to destroy or steal your gear, and sandflies leave bites that will itch for days! |
Te Araroa Trail: Overview.
The Te Araroa trail passes through diverse landscapes including beaches, forests, mountains and farmland along its 3,000 km distance, offering hikers amazing experiences along the way.
Here’s a quick overview of what you can expect.
Te Araroa Trail North Island
The North Island section of the Te Araroa Trail starts in Cape Reinga and ends at Wellington approximately 1,700 kilometres later.
Begin in the tropically lush Far North where you’ll start with 4 days walking down Ninety Mile Beach. Then cut inland through the dense and lush kauri forests of Northland across to the picturesque Bay of Islands. Beach-hop down the Hibiscus Coast to Auckland before traversing the rolling pastureland of the Waikato.
From there, enter an other-worldly volcanic landscape in the Central North Island’s world heritage Tongariro National Park, before spending 5 days canoeing your way through untouched territory on the Whanganui River.
Make your way along the black sand beaches of the North Island’s west coast before ducking inland again to traverse the Tararua mountains from north to south, popping out a few days’ walk from Wellington, New Zealand’s capital city.
The North Island route officially ends at Island Bay, at Wellington’s southernmost point.
Te Araroa North Island Time: It can take anywhere from 50 to 80 days to complete the North Island (depending on your pace and fitness), which is around 1,700km in length.
Te Araroa Trail South Island
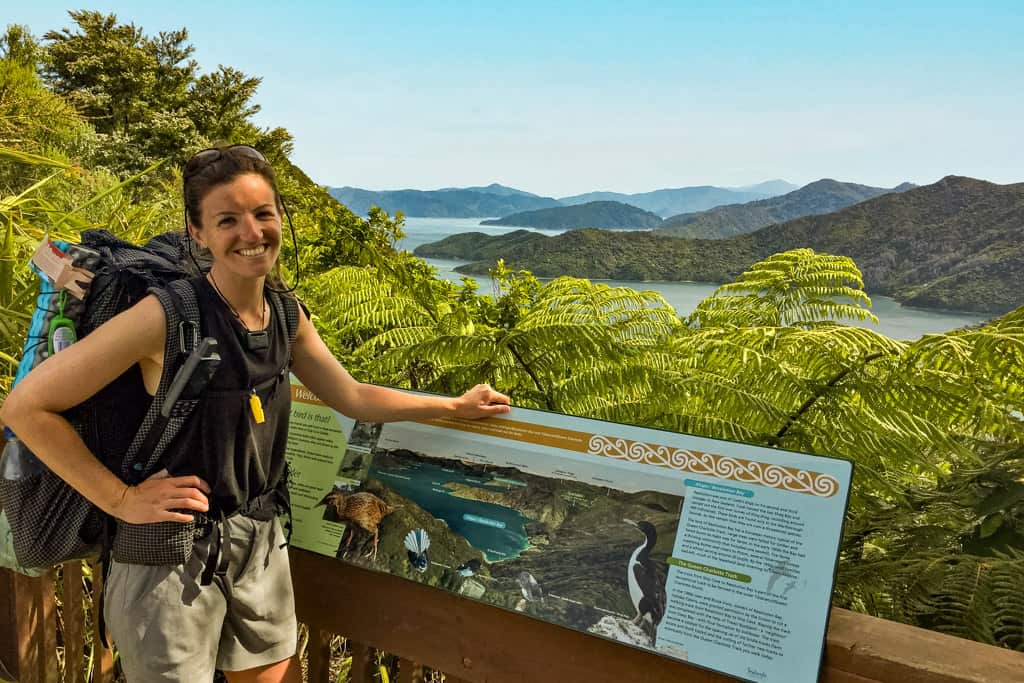
The South Island leg of the Te Araroa trail begins at Ship Cove (the northernmost point of the Queen Charlotte Track) and makes its way 1,300km south to Stirling Point in Bluff.
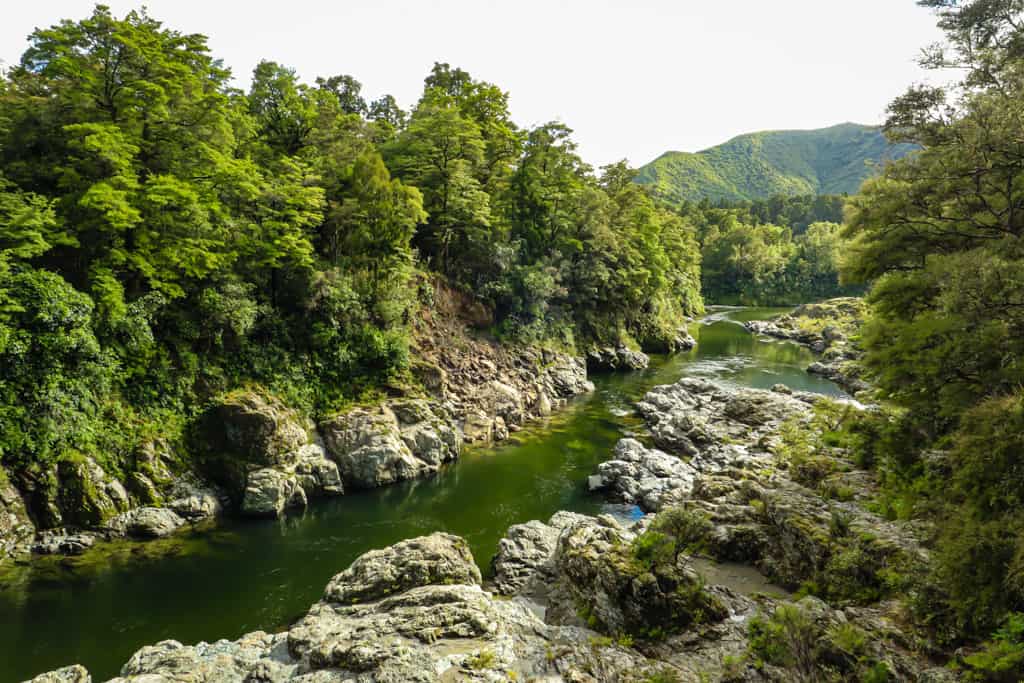
Start with 4-5 days cove-hopping on the Queen Charlotte Track before heading inland down the Pelorus River. Take a quick detour to Nelson to break up the long traverse of the trail’s most challenging and dangerous section – the Richmond Ranges – before arriving at the sleeping mountain settlement of St Arnaud.
Slog your way up and over the infamous Waiau Pass before continuing to pass-hop your way down to Lake Coleridge and the first of two South Island hazard zones at the Raikaia River. Further along the trail is the Rangitata River hazard zone, but in between you’ll pass through the unsuspecting Hakatere Conservation Park.
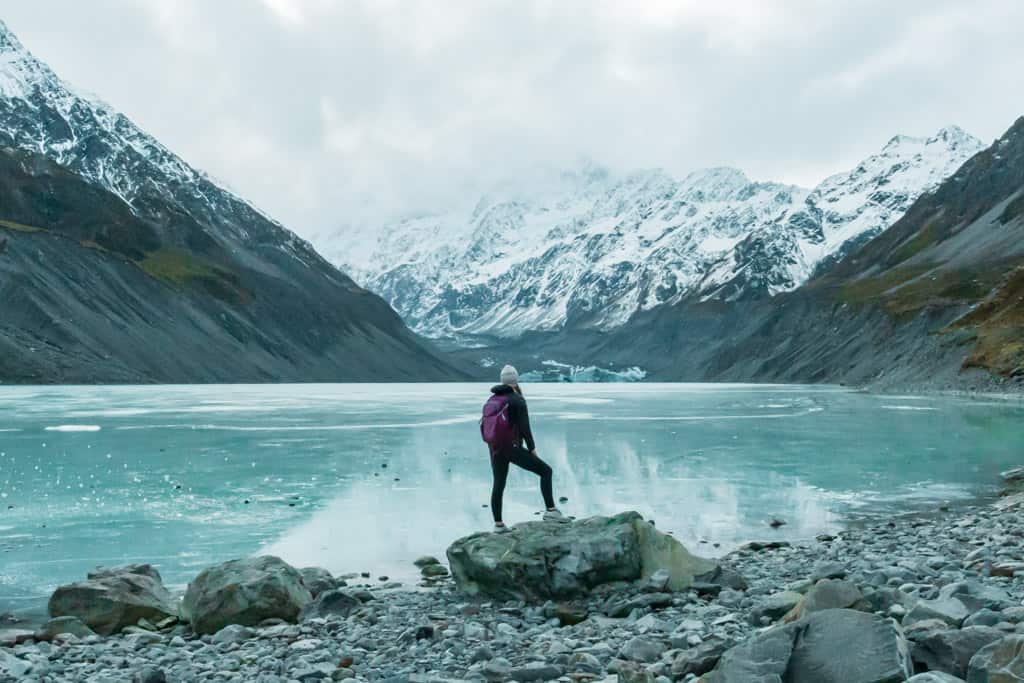
Continue along to the gruelling Two Thumb Track, passing Te Araroa’s highest point at Stage Saddle. Cycle next to the Lake Tekapo Canal and perhaps take a side trip to Mount Cook before tackling the high route through to Wanaka and Queenstown.
Avoid the crowds of summer tourists and hop on a boat transfer to Glenorchy where you’ll pick up the Mavora Lakes Walkway. Detour to Te Anau, or else push on through the Takitimu mountain ranges (the last on your trip) before heading into the final (and worst?) forest of the trail and making your way to Stirling Point at Bluff with one final beach and road walk.
Te Araroa South Island Time: It can take anywhere from 50 to 80 days to complete the South Island (depending on your pace and fitness), which is around 1,300km in length.
Te Araroa Trail: Gear List.
No matter how experienced you are, the journey along Te Araroa requires preparation and dedication. In order to ensure a safe and enjoyable journey, it’s essential to pack the right gear.
Here’s a general list of some of the must-have items for anyone tackling this epic trail:
- pack
- sleeping bag/quilt
- sleeping pad
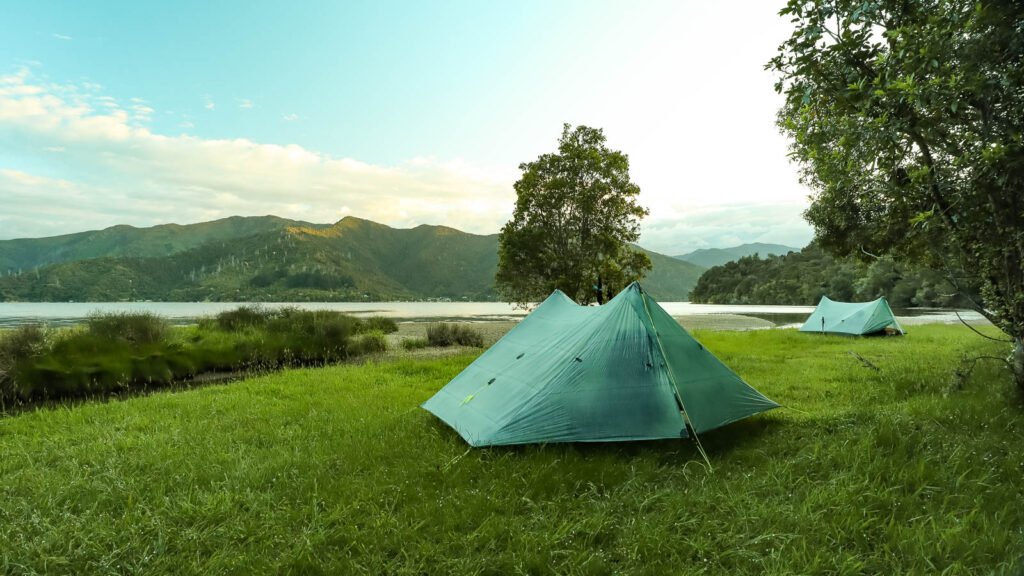
- tent
- camp kitchen
- water filter
- sleeping clothes
- hiking clothes
- waterproof layers
- sturdy footwear
- toiletries (& leave no trace toilet kit)
- first aid kit
- phone
- extra batteries / battery power bank + charging cables
- head torch
- personal locator beacon
- compass & maps
- camera
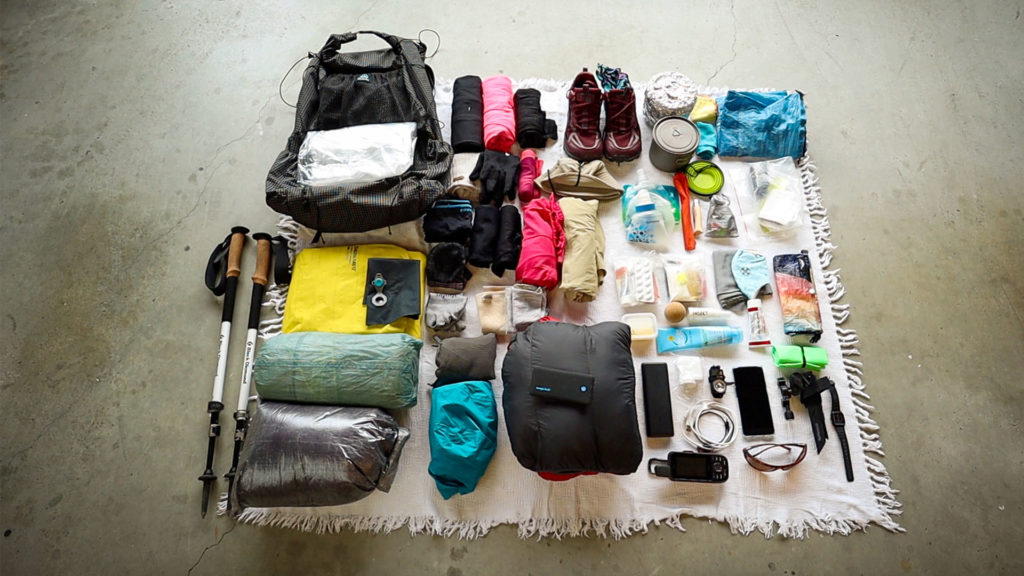
NOT SURE WHAT TO PACK FOR TE ARAROA?
Then you need my comprehensive Te Araroa gear list to make sure you don’t miss a thing.
Te Araroa Visas for International Travellers.
If you’re travelling to NZ from another country, you’ll need to sort out a visa for your time in New Zealand.
There are two visas which might apply for your Te Araroa thru hike:
Visa Waiver Visitor Visa – Aussies & Brits
British citizens can take advantage of a 6 month visa waiver programme to thru hike the TA, but Australian residents & citizens can stay in NZ indefinitely.
NZeTA
If you’re a British citizen or Aussie resident you’ll need to apply for an NZeTA before you travel at a cost of NZD17 (if via app) or NZD23 (if online). You’ll also need to pay an international traveller levy of NZD35 at the same time.
It takes approximately 72 hours to process and you must apply before you begin your travel to NZ. There are also some other conditions about financial requirements & requirements for onward tickets. Find out more and apply for an NZeTA here.
Your visa will be granted when you arrive at the NZ border.
Visitor Visa – Everyone else
If you’re not from Australia or Britain, the Visa Waiver only runs for 3 months so it won’t be long enough to last your whole thru hike (unless of course, you’re only planning to hike one island).
So the vast majority of international hikers apply for a standard visitor visa which entitles them to visit NZ for up to 9 months, provided they meet certain conditions.
You can input your country and other information on this link to find out exactly what the process and costs will be for you. I recommend doing this with plenty of time to spare, as it can take a while to collate the documents.
I ran a few tests on the immigration NZ website and put together the following table (please don’t rely on this as it may not be accurate: it’s given as a guide only):
| Country | Cost (NZD) | Processing Time (avg.) |
|---|---|---|
| United States | $35 | 36 days |
| Canada | $246 | 36 days |
| Germany / France | $246 | 36 days |
| Cook Islands | $171 | 36 days |
| South Africa | $246 | 36 days |
| Argentina | $246 | 36 days |
| China | $246 | 36 days |
| Japan | $35 | 36 days |
Choosing a Direction to Hike.
The direction you choose to walk the Te Araroa trail will have a huge impact on the overall experience, and should be considered with regards to the terrain, climate, and timing of your trip.
Hikers can choose between a northbound (NOBO) or southbound (SOBO) trek.
Historically, the overwhelming majority of thru hikers have hiked in a SOBO direction from Cape Reinga to Bluff, mainly because of seasons and weather.
It takes an average of 4-5 months to complete the trail. Starting at Cape Reinga between mid October and the start of December means that thru hikers are well on track to finish by the end of April, avoiding most of the snow and heavy rain in the South Island high country before the southern hemisphere autumn begins in April.
As the trail grows in popularity and the route gets more crowded, more thru hikers are choosing to walk in a NOBO direction from Bluff to the Cape. This is more suited to those who can’t start their trek until later in the season (i.e. December to January).
Getting to/from the Northern & Southern Trailheads.
Depending on which direction you’re walking and where you’re coming from, there are many options for getting to and from the northern and southern termini.
Getting to/from Cape Reinga
If you don’t normally live in New Zealand it’s a fair guess that you’ll probably be flying into Auckland. This is another reason why most TA hikers choose to hike in a SOBO direction each season – it just makes more sense when Auckland is their main port of entry.
If you already live in New Zealand you’ll still want to get yourself to Auckland first, especially if you normally live on the South Island.
If you’ve been living/working in NZ for a while, you might find it more economical to drive yourself to Cape Reinga (or have a friend/family member drop you off). Otherwise, you might catch an Intercity bus from wherever you normally live.
You might also try to hitchhike your way to the Cape from Auckland (NZ is a reasonably safe country for hitchhiking, although it’s always safest if you’re in a group). This can be a bit hit and miss.
From Kaitaia, you can join a tour bus to Cape Reinga (there are plenty of options available, but they can be a bit expensive), hitchhike or pre-arrange another form of transport to the Cape.
It’s theoretically possible to hire a car from Auckland but you’ll probably have to pay extra for a one-way hire, and you may have to drop off your car in Kerikeri or Paihia rather than Kaitaia (meaning you still have to find a way to get to the Cape).
If you’re hiking in a NOBO direction, returning from Cape Reinga to Auckland is a little bit more difficult. You’ll have to either time your arrival at the Cape to coincide with the arrival of a pre-booked tour bus, or hope that you can hitchhike back to Kaitaia with a tourist or local.
But, Cape Reinga is a long way out of the way so hitchhiking back from the Cape can be trickier than hitchhiking to the Cape. Either make sure to arrive at the Cape early in the day (so you have all day to catch a ride) or prepare to spend a night at nearby Taputupotu Bay campsite (an extra walk).
Getting to/from Bluff
The easiest and quickest way to get to Bluff from Auckland (or the North Island) is to fly to Christchurch and then to Invercargill. At Invercargill you can use either Catch-a-Bus South or the Stewart Island Experience shuttle bus to Bluff. You could also hitchhike from Invercargill, as it’s a reasonably busy road travelled by locals all the time.
If you’re on the South Island, you might find it more economical to drive yourself (or have a friend/family member drive you) to Bluff. Or, you can also pick up an Intercity bus from your nearest town.
Again, you could hire a car from somewhere like Christchurch or Picton and self-drive to Invercargill. This is a good option if you want to see a bit of New Zealand before your trip, but it adds lots of time and cost. You could maybe look into rental car relocation maybe from Auckland or Christchurch.
Returning from Bluff is much simpler. Firstly, you’ll probably want to stay overnight in Bluff before catching a bus or shuttle back to Invercargill the next day. Or you can hitchhike back to Invercargill with a friendly local. Just make sure they haven’t had too many drinks first!
Te Araroa Trail: Cost to Hike.
I’m going to be honest with you. If you’re looking to hike a long distance trail on a budget, Te Araroa is not the trail for you.
It will cost anywhere from $7,000 to $12,000 (or more) to thru hike Te Araroa. This is because there are lots of costs associated with the Te Araroa trail that don’t apply on other long distance hiking trails.
Here are some regular and ongoing costs you may have to pay, which you might not be prepared for:
| What | Approx. Cost (NZD) |
|---|---|
| Tent pitch (Trail Angel) | $10 – 15 p/night min. |
| Tent pitch (Campground/Holiday Park) | $20 – 30 p/night min. |
| Bunk in dorm room | $30 – 40 p/night min. |
| Hotel room | $90 – $100 p/night min. |
| Wifi (at campgrounds etc.) | e.g. $10/500mb (varies) |
| Shower (at campgrounds etc.) | $2 – $4 |
| Laundry (at campgrounds etc.) | $4 per load (plus detergent) |
| Ferry Transport (North to South Is.) | $50 |
| Canoe Hire & Campsites (Whanganui River) | $250 (for 5 days) |
Food is expensive because almost everything is imported. And you’ll have to pay if you want to hike, bike or kayak some sections of the trail (if you’re a purist and don’t want to skip them).
Freedom or wild camping is discouraged and frowned upon, and in some regions it comes with hefty penalties and fines. I don’t recommend breaking these rules by trying to freedom camp your way along the trail to save money.
The North Island is definitely more expensive than the South because you’ll be staying with people or at holiday parks / campgrounds every single night.
On the South Island you’ll mostly be staying at or camping near backcountry huts. You’ll need a backcountry hut pass which only costs $92 for your entire trip. Then the odd night will be spent with trail angels or at campgrounds when you reach the end of a section.
Te Araroa Trail Permits.
You don’t need a permit to thru hike Te Araroa.*
*the exception is the Queen Charlotte Track section which requires a $25 permit for multi-day use of this track.
This makes the Te Araroa trail one of the most accessible long distance trails in the world, and one of the reasons why its popularity is growing exponentially.
However, you need to complete a Trail Registration before you go, and pay a donation to the Te Araroa Trust.
As of 2023, the suggested donation is NZD750 to thru hike the entire trail, or NZD400 per island. This has increased since I hiked the trail in 2019/20 to reflect the greater need for infrastructure and resources due to drastically increased annual walker numbers.
In my opinion this is a non-negotiable, and an easy way for you to give back in return for your experience on Te Araroa.
Due to the current rate of growth (of about 1,000 thru hikers per season), in the near future I expect to see a permit system introduced to help manage numbers, ease the pressure on infrastructure and preserve NZ’s fragile natural environments.
Solo vs. Group Hiking
A lot of first time thru hikers worry about whether to hike alone or team up with a group planning to start at the same time as them. This is a very natural feeling, and both options are perfectly feasible.
I was a solo female hiker who started her Te Araroa thru hike solo. I hadn’t planned to hike with anyone. But within the first few hours of walking I had met a woman who I ended up hiking with for the next month!
With thousands of people on trail each season, it’s highly unlikely (unless you’re starting really early or really late) that you won’t encounter anyone else. There are always people around almost every single day.
If you’d prefer to hike with other people, ask if you can slot into a group (this will probably happen naturally) that are walking at about the same pace as you.
If you’d prefer a mostly solo experience, you can hang back or speed up a little, or walk slightly longer or shorter days than the suggested itinerary to get away from your hiker bubble (always adhering to official camping spots, of course).
I’ve done both. Personally I wouldn’t plan to hike with someone again. The problem was I became overly reliant on that person because of my own fears. Unless you’re already very familiar with that person/people and their hiking style (and vice versa), you could find yourself miserable when or if things don’t work out.
Te Araroa Trail Logistics.
If you’re considering a thru-hike of the Te Araroa Trail, you need to have a handle on the practical logistics. You’ll need to plan ahead for things like accommodation, food and transportation.
Here are some of the most important key logistical considerations.
Navigation
Each year the Te Araroa Trust produces a detailed series of Trail Maps and Notes for Te Araroa. These are available to download for free from the Trust’s website. Trail notes are updated frequently throughout the year, but the maps are usually updated just prior to the start of each season.
Historically, thru hikers have printed the maps and notes so they have access to them whilst they’re hiking. But a few years ago the Trust released The Trail App (available on both the Apple and Google Play stores, so you can have access to the maps and notes directly from your phone!
Through the app you can download the notes and maps for offline use, use GPS tracking to see exactly where you are, and comment features to get instant feedback on an upcoming section of trail.
Far Out Guides (a.k.a. Guthook) also have a detailed suite of maps for a Te Araroa thru hike. This used to be helpful for the commenting and image upload features, but since The Trail App was updated to include comments it’s become reasonably obsolete.
Water
One of your primarily considerations on a Te Araroa thru hike is where you’ll be able to find water.
On the North Island, you’ll have access to treated or potable drinking water on a relatively regular basis. Because it’s reasonably frequent, the total amount of water you’ll need to carry at any one time is usually around 1-2 litres.
On the South Island, the trails are more remote, and natural water sources like rivers and streams are reasonably abundant. There are also water tanks at many huts or campsites.
⚠️ IMPORTANT NOTE
The huts in the Richmond Ranges section frequently run out of water during TA season. This is an ongoing problem without an immediate solution. You’ll need to conserve your water through this section. Don’t take any more than you need from the huts, fill up at streams along the way and plan to carry double the amount you usually would just in case.
Regardless of how clear the water looks, you should always treat it by filtering or boiling before use. Rats, mice and possums often fall into water tanks and die, and even the clearest stream can contain giardia.
You’ll pass through farms a lot on the North Island. Don’t fill up your water from streams which run through farms. They could contain harmful chemicals and livestock excrement.
There is the odd long, dry section where you’ll need to plan ahead (e.g. Ninety Mile Beach, Tongariro Alpine Crossing etc.). If you don’t carry enough water you’ll either have to knock on a stranger’s door to fill up (if there’s anyone around) or get dehydrated (not recommended). To avoid this, always carry a bit more than you think you’ll need.
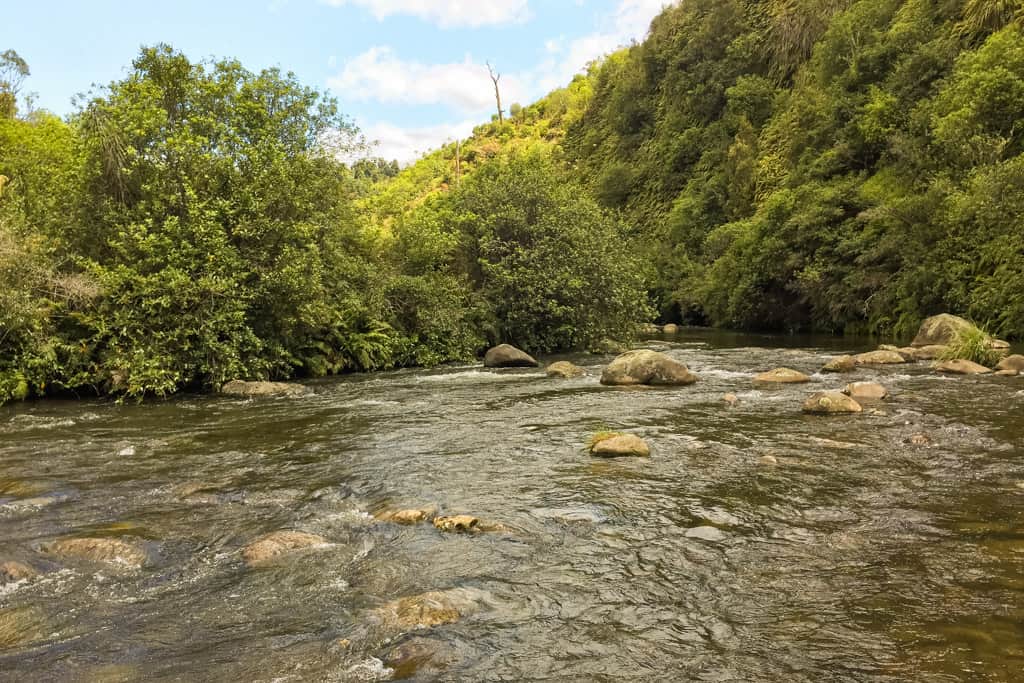
River Crossings
There are literally hundreds of river crossings along the Te Araroa trail. Some of them are barely more than streams. Others are strong and raging torrents.
Rivers are the biggest hazard of the TA and one which many thru hikers often underestimate. In fact, rivers are one of the biggest killers in the NZ backcountry full stop, even for very experienced kiwi trampers.
I recommend that everyone planning to hike Te Araroa enrols in a river safety course either before or during their journey. I recommend this one offered near Auckland and in Canterbury. If possible, do this before you start (to avoid interrupting your flow) but if you can’t do this, plan to do it before you reach any major river crossings.
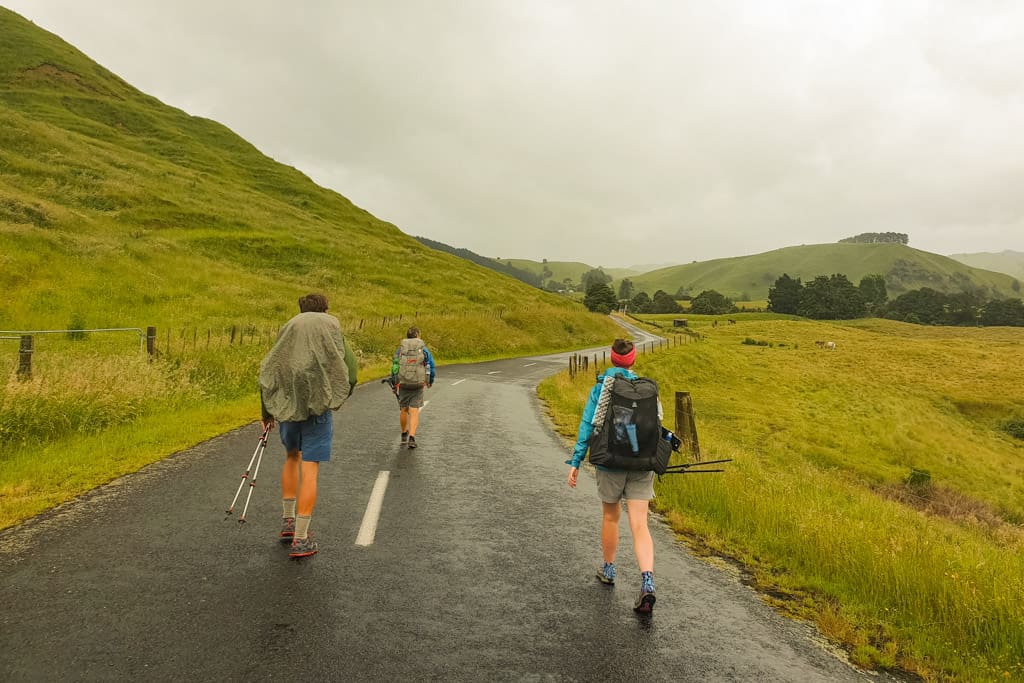
Road Walking
Te Araroa (especially the North Island section) gets a bad wrap because of the amount of road walking (in comparison to other thru hikes like the PCT, AT or CDT).
So, let’s just accept at the outset that road walking is a large part of a Te Araroa thru hike. Te Araroa is comprised of a series of 87 ‘wilderness’ walking tracks which are ‘joined’ together by road walks. This is because it’s a very new trail and ‘wilderness’ corridors are still in the process of being established.
I’ve seen information from the Te Araroa trust that says road walking on the trail only makes up a small percentage of its total length. It definitely felt like more than that to me, so I did the numbers.
Out of a total 1,700 kilometres of trail on the North Island during the 2019/20 season, I calculated roughly 760 kilometres of those to be on either sealed or unsealed (gravel) roads, or a paved surface of some kind. This equates to a staggering 45% of the total kilometres on the North Island section.
The South Island contains a lot more wilderness trails, but there are still long sections of road walking or gravelled surfaces connecting these trails to take into account.
In summary, Te Araroa has a lot of roads. If you don’t like that be prepared to either skip a lot of sections, walk just the South Island, or maybe even choose another trail.
Resupply
If you’re new to thru hiking, resupply is the act of buying and supplying yourself with food and other commodities along the route. This needs to be pre-planned because supermarkets and shops where you can buy food are few and far between on wilderness trails.
Not so for Te Araroa – at least not all of it. On the North Island, you’ll rarely be more than 2-3 days from somewhere you can buy food. These places will be directly on-trail, so you won’t have to take a huge detour to stock up.
They’ll range from small convenience stores (dairies) which will have basic needs (but not necessarily hiker-friendly stuff) to large supermarkets, restaurants, cafes and takeaway shops.

CONFUSED ABOUT RESUPPLYING ON THE TA?
Find out my exact strategy and pick up some helpful tips and tricks to make the process smooth.
On the South Island, it’s more like 5-6 days between resupply points. But there are a few long stretches at the top of the Island where you’ll have to send a resupply box, otherwise you’ll go hungry. These are:
- St Arnaud
- Boyle Village
- Arthur’s Pass
These are generally accepted as the only places Te Araroa thru hikers need to send themselves resupply boxes. But many thru hikers choose to send the occasional box here and there.
Then there are the crazy ones like me who resupplied their entire route. This was due to specific dietary considerations at the time which I talk about more in this post.
Accommodation – Where to Stay
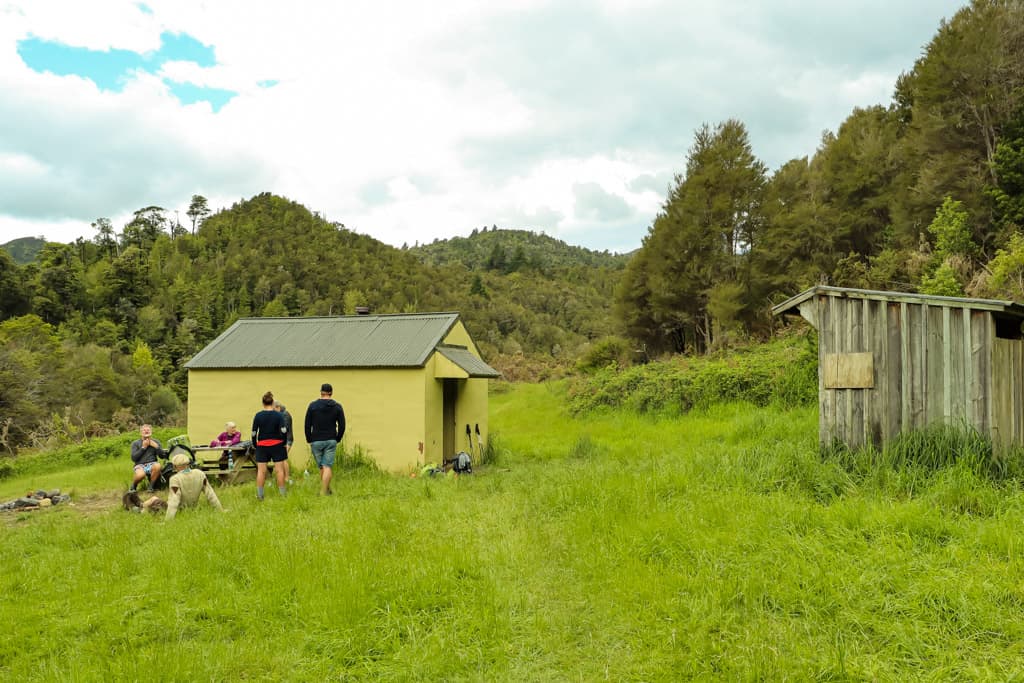
For the most part you’ll be either camping or staying in backcountry huts on your Te Araroa thru hike.
The North Island will be mostly camping, either at formal campgrounds or holiday parks, or with a Trail Angel in their back yard. The South Island will be a mixture of camping and staying in backcountry huts, depending on how many spare bunks there are available and what the weather is like.
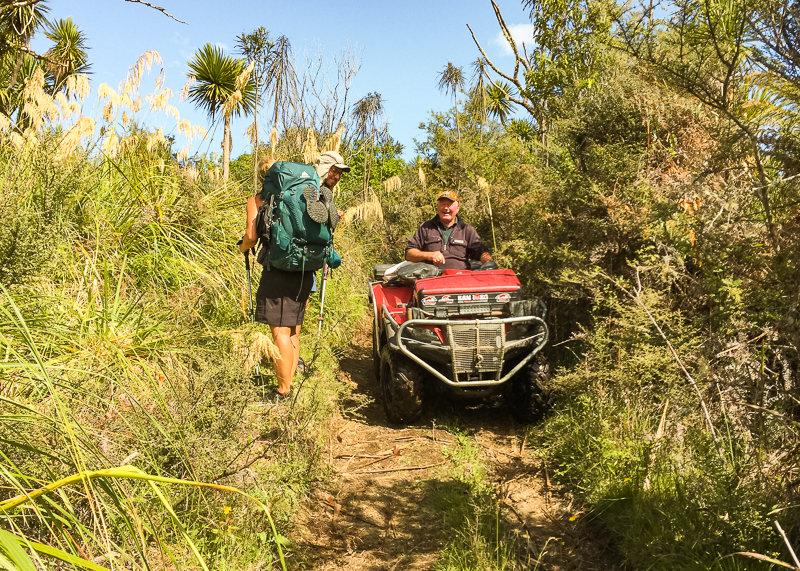
Farms and Livestock
One aspect of a Te Araroa thru hike which you might not have encountered on other worldwide hiking trails is the working farm component of the Te Araroa trail.
Again, Te Araroa is still a new trail in its infancy. It’s not based on a historical wilderness route, and instead it’s been constructed from 87 different hiking trails which have been ‘joined’ together. Some of these joins are by road. But a fair proportion of them are actually across (working) farmland.
Some aspects of walking across farms may come naturally to New Zealanders, but if you’re not a born and bred kiwi here are some tips to keep you safe:
Tips to Keep You Safe on New Zealand Farms
- Always observe farm signage and warnings. If a sign says it’s not safe to enter a paddock, then don’t do so. If there’s a farmer operating heavy machinery (like a tractor) or moving stock, get his/her attention before proceeding.
- Never come between mothers and their babies. Avoid walking though paddocks which contain young animals if possible, but if you end up in a sticky situation, NEVER put yourself between a mother and baby because this may trigger an attack response.
- Give cattle plenty of warning. Cows have a very limited range of vision, so make yourself known to them by raising your voice slightly (don’t shout, though) and clapping so you don’t startle them. Walk around the herd rather than through it.
- Leave gates as you find them. If a gate is shut, close it behind you. If it’s open, leave it open.
- Beware of electric fences. It’s not always easy to tell (although you’ll get better at identifying them the further along you get) so to be safe just treat every fence as though it’s electric until you know better.
- Err on the side of caution & use strength in numbers. Give all livestock a wide berth, approach in groups rather than on your own and keep an eye on your escape route in case things turn sour. Sheep will usually run away from you before you get too close. Herds of cows can be curious and have a tendency to stampede.
- DO NOT walk through a paddock which contains a bull on your own (or if you can help it).
Te Araroa Trail: Tips for hiking.
Curated from my personal experiences, here are some essential tips for hiking Te Araroa to make your trip a success.
Get off trail whenever you can
Hiking Te Araroa is a unique experience that offers hikers the chance to explore New Zealand in an exciting and challenging way. For those who want to get the most out of their thru hike there are so many amazing side trips to take along the way and it really would be a shame to miss them! Take your pick, try to fit in as many as you can, and make the most of your time in New Zealand!
Leave No Trace
Leaving no trace means that you take all your rubbish with you, and don’t expect others to come along after you and clean up (newsflash: no one will!). It also means avoid disturbing wildlife and fragile plants, and (unique to New Zealand) leave gates as you find them when passing through farmland.
New Zealand has a tense history with international visitors failing to adhere to Leave No Trace. Stick to the rules and you’ll avoid the wrath of the locals, ensuring that future thru hikers can have the same experience that you enjoyed.
DON’T BE A D*CK!
Follow these simple rules of New Zealand hiking etiquette to avoid becoming a pariah on trail.
Don’t freedom camp
As a prospective Te Araroa thru hiker, it is important to remember that freedom camping and wild camping are not allowed anywhere on or near the trail. Not only might you risk breaking the law in some places (yes, there are laws against freedom camping in NZ) but you may also face hefty fines and upset the locals.
It’s best to stick to the marked (and suggested) campsites along the route. This way, you can rest assured you won’t run into any trouble with local authorities or landowners. In addition, by avoiding wild camping or freedom camping on Te Araroa Trail we can all protect its legacy for generations of future adventurers!
Let go of being a purist (stay flexible)
This doesn’t mean abandon your plans or give up on the trail. Rather, it means being open to different opportunities that may arise.
For instance, if a section of the trail looks particularly treacherous or dangerous, don’t be afraid to take a break and wait for better conditions. Or if you feel like you need more time in a certain area, take some extra days off to explore. Don’t feel weighed down by having to finish every kilometre – let go of your expectations and enjoy the journey!
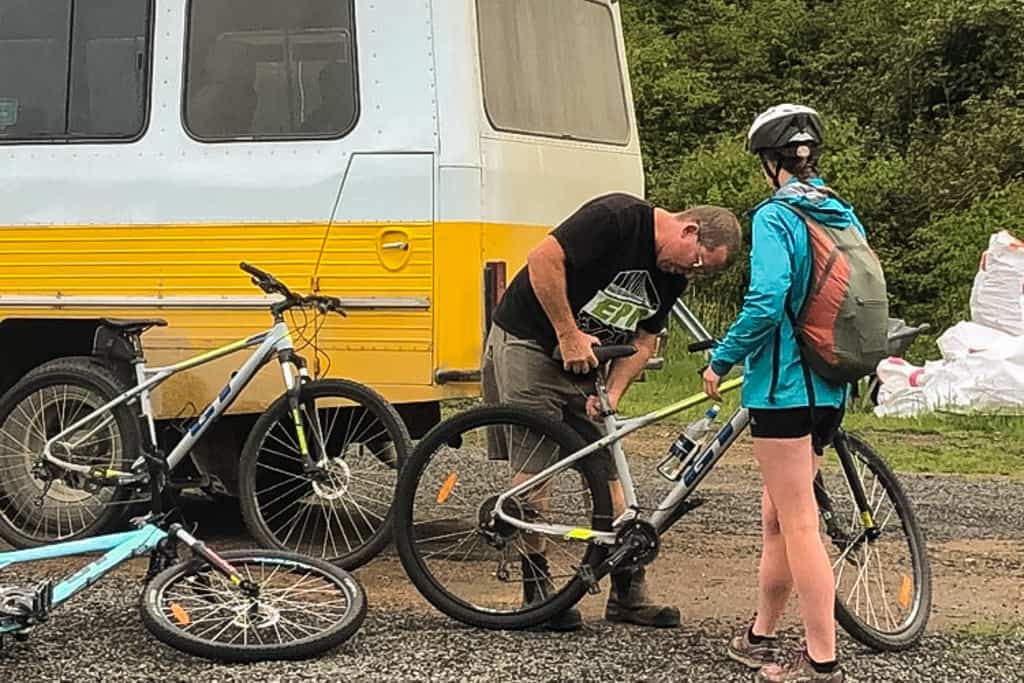
Te Araroa is unique because certain sections of the trail are more suited to on-water transport or mountain biking. During your journey, don’t be afraid to take advantage of these. They can be a lot of fun and some of the best parts of your trip!
Lastly, don’t be afraid to skip sections if you’re really not enjoying them. Taking a break from the trail and having a more well rounded experience can be just as fulfilling as forcing yourself to complete the entire route.
Budget extra $$ for replacement gear
Your gear is going to take a major beating on Te Araroa (yes, it’s just that harsh)! So you’ll need to plan to replace or repair important items such as hiking boots or shoes (probably 2 to 3 pairs for the whole trail), your sleeping mat, backpack or even your tent.
The range of outdoor gear available in NZ may not be what you’re used to, so plan ahead or be prepared to be flexible. Research online before you leave home so that you know what kind of gear is available, or ask other thru-hikers for recommendations.
Remember, you’re going to be using your gear day in and day out, so make sure that you look after it as best you can. This way it should last as long as possible and save you money in the long run.
Unique Aspects of a NZ Thru Hike That You Should Be Aware Of.
From unpredictable tropical weather conditions to impish animals that can wreak havoc on your gear, thru hiking the Te Araroa trail requires special considerations and precautions.
Let’s discuss some of the unique aspects of a NZ thru hike that you should be aware of before embarking on your journey.
The weather can make or break your hike
Ok, weather conditions and how to deal with them on Te Araroa is a whole separate topic. But i’m not exaggerating when I say that on Te Araroa, you need to learn how to read the weather quickly.
If you’re hiking in a SOBO direction, you’ll get familiar with this as you make your way down the North Island. Much of the North is low lying and the consequences of stuffing up on a bad weather day are usually minor.
But once you’re into the high country, making a mistake or misjudging weather conditions could see you delayed for a day or two whilst you wait for a river to drop, or at worst could put your life at risk.
Even though Te Araroa hiking season takes place predominantly in New Zealand’s summer, previous seasons have seen cyclones, severe rainfall, high winds and even snow. New Zealand is an island nation at the bottom of the South Pacific in a region known as the ‘Roaring Forties’. It’s buffeted by all kinds of weather systems all throughout the year.
Snow can fall on high alpine passes in the middle of summer. Extreme rainfall events can cause huge delays or make large sections of the trail impassable.
Just be prepared. Mother Nature is not to be reckoned with. Pay attention, stay safe and never be afraid (or too proud) to turn around if it’s not safe to continue.
NZ trails suck your energy
Te Araroa truly is not for the faint of heart. The trail is full of harsh topography, brutal climbs and vertiginous descents, which are both physically and mentally demanding even in the best of conditions and with the best of company.
When combined with unpredictable weather, any aspiring Te Araroa thru hiker needs to be prepared for a challenge.
The trail will push you to your physical and mental limits, so you’ll have to make sure you’re in the right headspace before attempting it and that you have some good coping mechanisms for those off days. It won’t be easy, but with the right attitude and preparation you can experience unparallelled personal growth.
NZ doesn’t have any switchbacks
New Zealand is known for its rugged, challenging terrain, which makes it difficult to create traditional hiking trails which select the simplest way to get from point A to B.
The extreme environments in New Zealand include mountains and alpine ridges, glaciers and dense forests which are often too harsh and impenetrable to construct switchbacks (the traditional method of making a hill climb easier).
Instead, NZ trails often follow the contours of the land as best they can. This could involve a narrow ‘sidle’ around a precipitous bluff, climbing directly up (or down) a waterfall or rocky alpine pass, wading through waist-deep fast flowing water or straddling an exposed ridge.
Severe exposure and dangerous ridge walks are standard
For all the aforementioned reasons, you should expect to be put through your paces when thru hiking Te Araroa. It’s one of the reasons why so many TA thru hikers feel empty once they’ve finished their adventure.
In various places along the trail you could be:
- walking (or climbing) around exposed bluffs or rocky ridges
- navigating landslides and slips high above river valleys
- balancing precariously on a narrow section of track with steep drop-offs
- battling strong winds and rain or perhaps even snowfall in the middle of summer
This is why it’s so important to be aware of the weather. Some sections of Te Araroa are challenging enough, even in perfect conditions.
Be prepared to adjust your route, or even to turn around if it looks like conditions are going to worsen. You’ll make no better decision, and your family and friends at home will thank you.
You’ll be slipping and sliding a lot
Whether it’s a muddy forest trail in the jungles of the Far North, or a steep and slippery scree slope on a mountain pass in the middle of the South Island, you’ll get really good at being really bad on your feet on a Te Araroa thru hike.
But one foot wrong can have dire consequences.
I lost count of the number of times I slipped and slid my way along the trail on Te Araroa – and that was just the North Island!
The most unpredictable part is the weight on your back (i.e. your pack) which propels you further if you take an unwanted stumble. This is one of the reasons why I think Te Araroa almost requires hikers to carry at least one trekking pole for the entire length, just for an extra point of contact with the ground.
But even then, using more than one trekking pole will be cumbersome on some sections, and having the use of your hands to help with rock climbing (literally) will be helpful.

Side Trips That Are Worth the Detour.
While the following excursions may add to your overall time in New Zealand, they also give you an opportunity to explore some of our best sights & experiences.
Here are my top picks of side trips you should take whilst hiking Te Araroa.
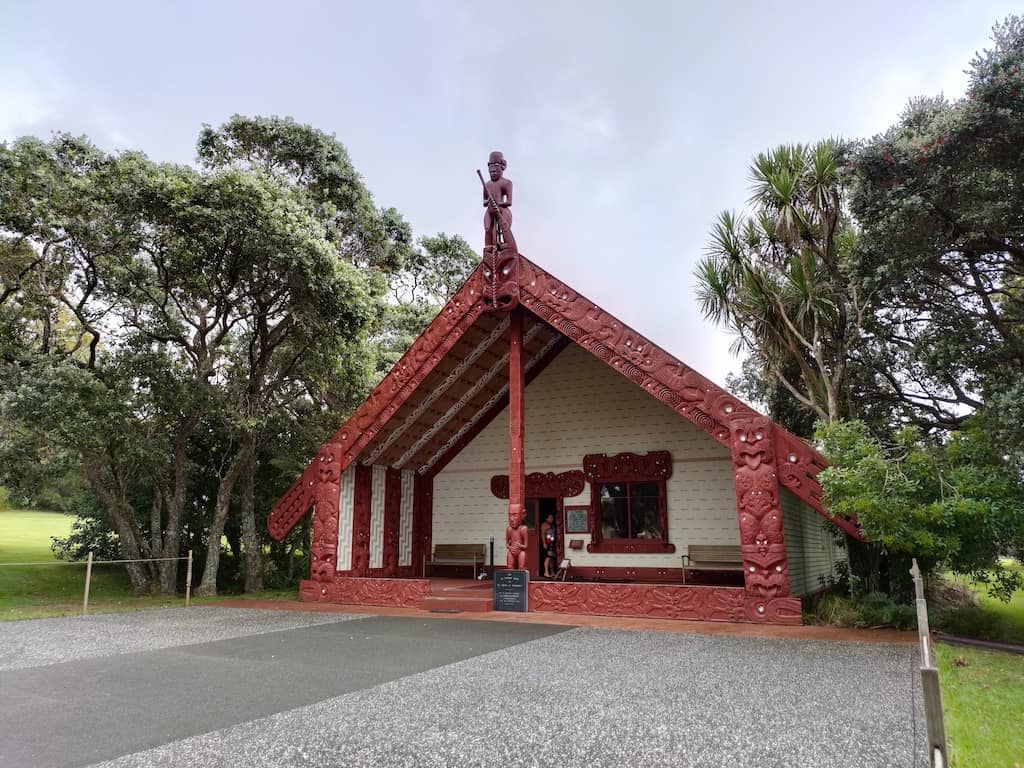
Waitangi
Located in the beautiful Bay of Islands, the Waitangi Treaty Grounds historical site is the place where New Zealand’s founding document, the Treaty of Waitangi was signed in 1840. This agreement between Māori Chiefs and the British Crown established a framework for future cooperation and collaboration between both parties and has informed the developed of the country. You’ll be walking straight past it on the TA route, so it’s well worth the stop.
⭐⭐⭐⭐⭐
Waitangi Treaty Grounds Guided Tour✔️ One hour guided tour of the Treaty grounds.
✔️ Admission to a 30 minute cultural concert.
✔️ 2 day consecutive pass so you can revisit the museum.
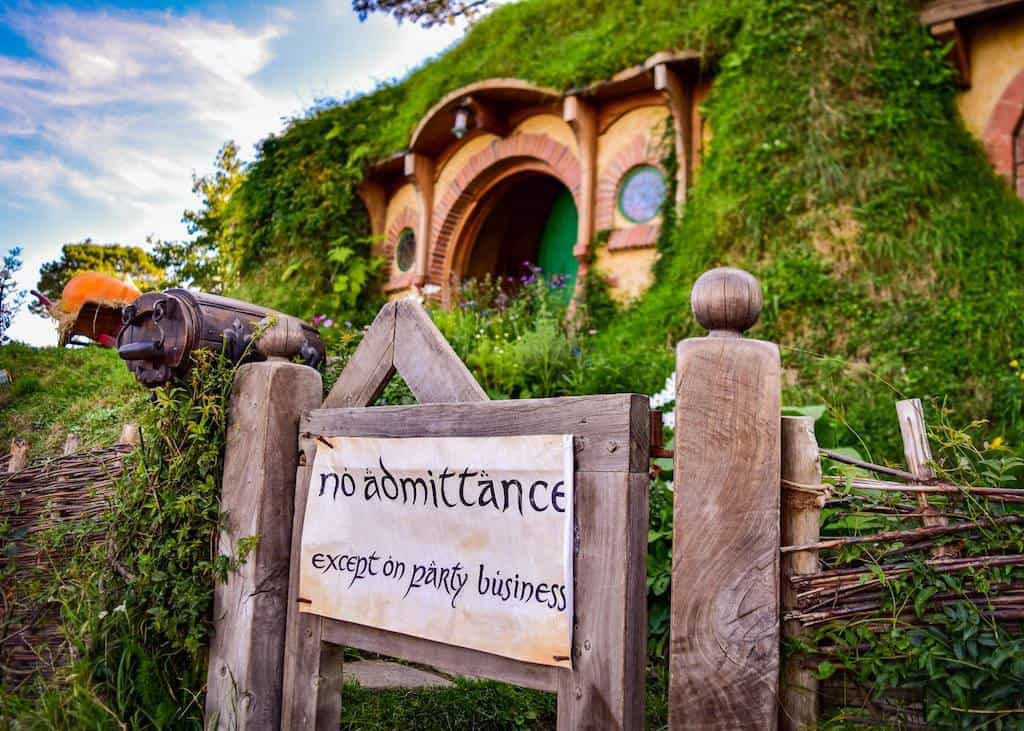
Hobbiton
A must-visit spot for Lord of the Rings fans, Hobbiton is a movie set built to look like The Shire from the famous books and movies. Located in Matamata, New Zealand, the 12-acre set features 44 hobbit holes, ponds, gardens, and iconic landmarks like the Green Dragon Inn and the mill. The tours are fully guided, and run for over 2 hours.
The easiest way to access Hobbiton from the Te Araroa trail is by catching an Intercity bus (book separately) from Hamilton to Matamata, and then picking up a shuttle bus to Shire’s Rest from the Matamata Visitor Centre. Pre-Book your tour tickets here.
Otherwise, you can also jump on a day tour from Auckland and have all your needs taken care of.
⭐⭐⭐⭐⭐
Hobbiton Tour from Auckland✔️ Full day guided tour of the Hobbiton Movie Set
✔️ Complimentary Hobbit beverage at the Green Dragon
✔️ Transport to and from Auckland
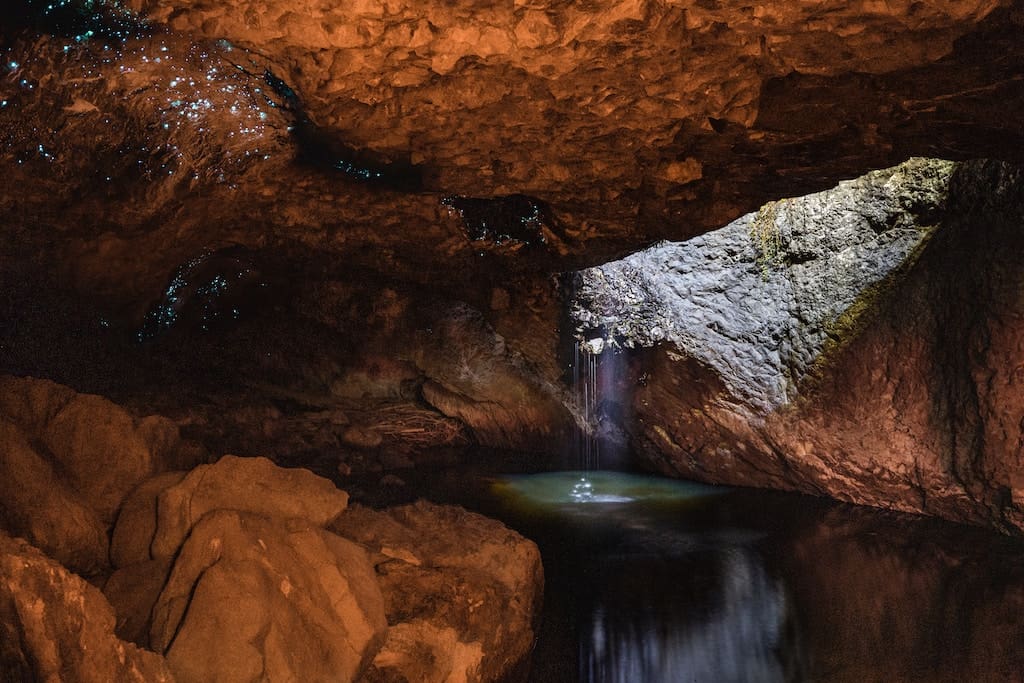
Waitomo Caves
If you’re visiting New Zealand, you want to make sure you see the glow worms. One of the best places to do this is in Waitomo, and the Te Araroa route passes right by them!
These stunning limestone caves feature spectacular stalactites and glowworms that light up the caves with an array of twinkling ‘star-like’ lights. With one of the Waitomo Caves guided tours you can explore the underground river system and experience a unique adventure through some of nature’s most fascinating cave formations. Well worth the expense!
For the more adventurous, upgrade to a half day caving tour or black water rafting experience.
⭐⭐⭐⭐⭐
Waitomo Glow Worm Caves Tour✔️ Guided tour through the main cave system on foot
✔️ Visit Cathedral Cave and marvel at the acoustics
✔️ See the constellation-like glow worms
Tongariro Northern Circuit (or Round the Mountain Track)
A popular side trip from the Te Araroa route in the Central North Island is the Tongariro Northern Circuit. This 2 to 3 day extension of the TA route explores the northern part of the park. It traverses even more spectacular volcanic terrain, taking in excellent views of the barren wastelands of the Rangipo Desert. You can easily join/incorporate the track from the TA route, but you’ll need to book ahead – this track is one of NZ’s Great Walks and books up fast!
If you can’t secure a booking (or you’d prefer to avoid the crowds), you could include part or all of the Round the Mountain Track on your trip through the Tongariro National Park. This track circumnavigates Mt Ruapehu, the park’s most active volcano, and allows you to spend more time exploring some of Ruapehu’s more remote mountain huts.

Mt Cook Village
One of my favourite places in New Zealand is Mt Cook Village, and as Te Araroa passes right next to it, you’d be silly to miss it.
Situated at the base of Mt. Cook, New Zealand’s tallest peak, Mt Cook Village has some of the most scenic alpine hiking trails in the country in a setting of alpine landscape and glaciers. Hikers can enjoy a range of activities from short day hikes to multi-day treks to places like Hooker and Mueller Huts (if you don’t mind a climb).
Or perhaps you’d rather hop on a boat or helicopter to explore a glacier up close? You can easily hitchhike to Mt Cook Village directly from the trail or Tekapo, and there’s a DOC campsite and YHA hostel at the village for cheap accommodation.
Greenstone Caples Track
Although you’ll be passing tantalisingly close to two of the best walks in the world, the Routeburn and Milford Tracks, the popularity of these walks and the need to book in advance means you may not have a chance to hike them.
But not to worry, you’re in one of the most scenic hiking regions of the world. And there’s ample opportunity to experience more of what NZ hiking trails have to offer. I recommend adding on the Greenstone Caples Track, which intersects with the TA route at Glenorchy.
This track gets you close to and features some of the best highlights of the Routeburn and Milford Tracks (beautiful beech forests, alpine rivers and valleys) but without the crowds. The track can also easily be linked up with other trails in this area for a truly unique NZ hiking experience.
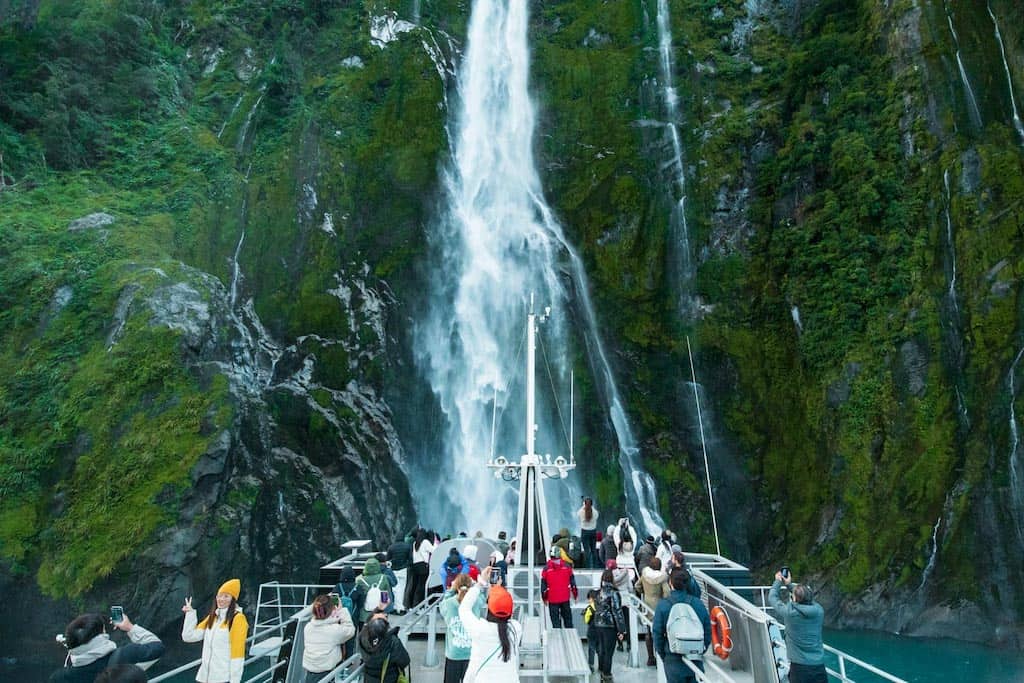
Milford Sound
Renowned as one of the most stunning natural wonders in the world, Milford Sound is a must-see destination in NZ.
The drive alone is regarded as one of the best drives in the world, passing by mirror lakes and through three separate valleys before bisecting the Darran mountains through the Homer Tunnel and heading down towards the sleepy settlement of Milford. Here you’ll want to jump on a boat tour of the Milford Sound fiord, where even a rainy day makes the scenery even more beautiful.
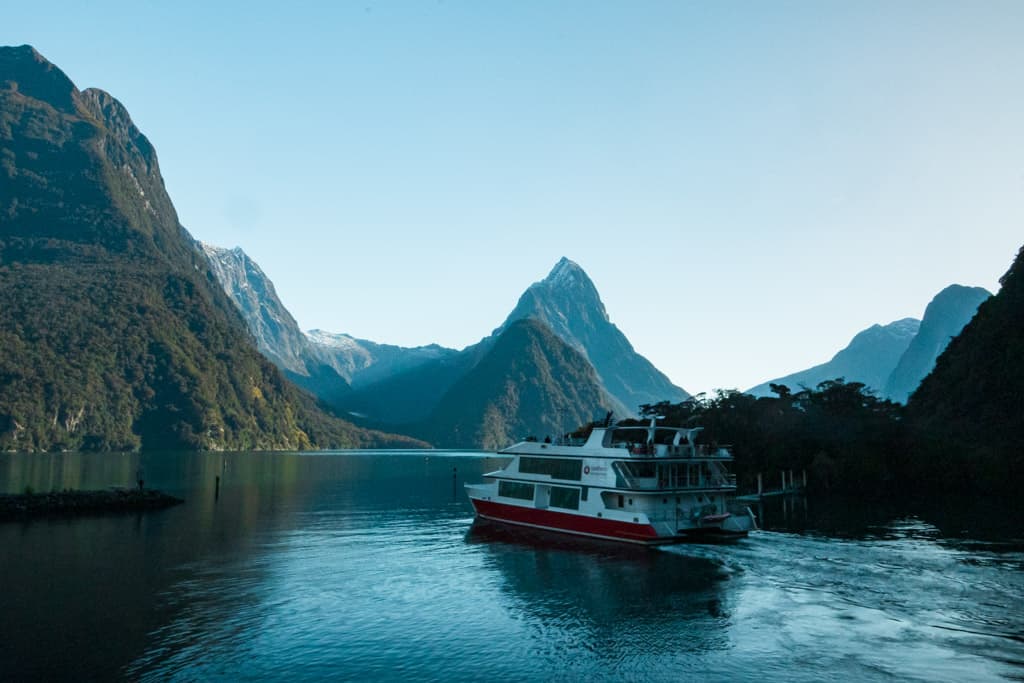
The best way to get there is by taking a coach & cruise tour from either Queenstown or Te Anau.
⭐⭐⭐⭐⭐
Milford Sound Coach & Cruise Tour✔️ Depart Te Anau
✔️ Numerous photo stops along stunning Milford Road
✔️ 2 hour cruise of Milford Sound
✔️ Glass-roofed coach for spectacular views
Rakiura / Stewart Island
Although it doesn’t form part of the official trail, completing your Te Araroa thru hike with a trip to Rakiura / Stewart Island is a great way to top off your NZ experience.
Admire the seascapes, take part in some of the island’s unique wildlife experiences (including the opportunity to spot penguins, seals and even kiwi in the wild!) or take a comparatively relaxed 3 day walk around the Rakiura Track – NZ’s most southern Great Walk.
If you’re after something a bit more adventurous, or you’re just not ready to leave yet, the North West Circuit is a great bookend to the TA. The best way to get there is by flying from Invercargill or taking a ferry from Bluff after you reach Stirling Point. The crossing of the Foveaux Strait by boat is notorious for being very rough, so make sure to pack some anti-nausea tablets if you’re prone to that kind of thing.
Final Thoughts: Everything You Need to Know About Te Araroa.
Thru-hiking the Te Araroa Trail is a unique and rewarding experience that will stay with you forever. Not only can it be an amazing adventure, but also a great opportunity to learn more about yourself.
The trail passes through some of New Zealand’s most stunning landscapes, from lush forests to rugged coastline vistas. It offers hikers many different challenges along the way – both physical and mental – making for an unforgettable journey!
If this Everything-You-Need-to-Know guide has gotten you thinking that maybe you’re up for the Te Araroa challenge, why not start planning your own thru-hike today! Check out my comprehensive Te Araroa resources & planning guide here.